
The Mask & Inpaint tool is a powerful editing feature that allows you to select an area in your design and modify it using a direct prompt. Whether you want to add new elements or change existing ones, this tool gives you precise control over your edits.
You can find it at the top center of the Studio interface.
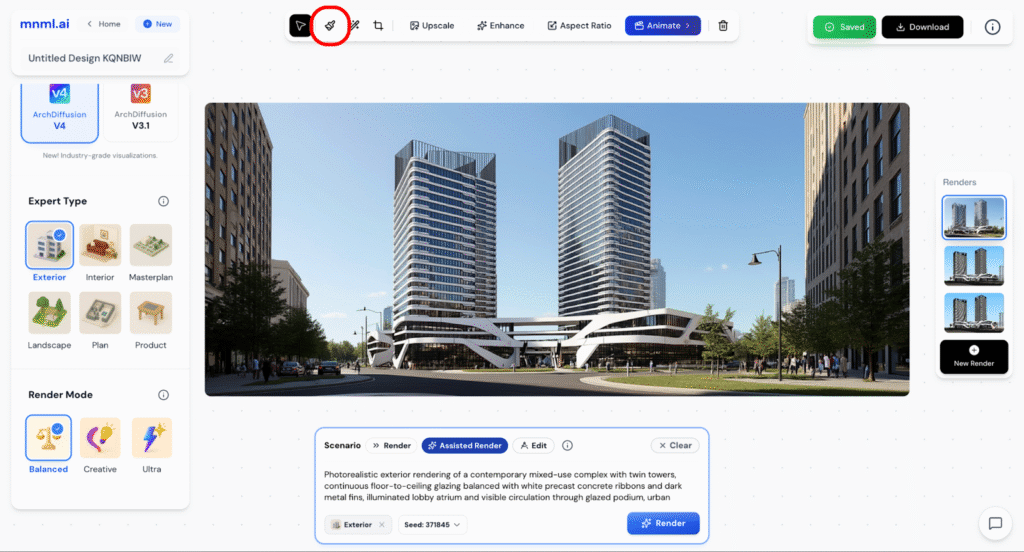
In this guide, we’ll explore the capabilities of the Mask & Inpaint tool and see how you can apply it effectively to your own designs.
Attached below is the sample input image:

Add Elements
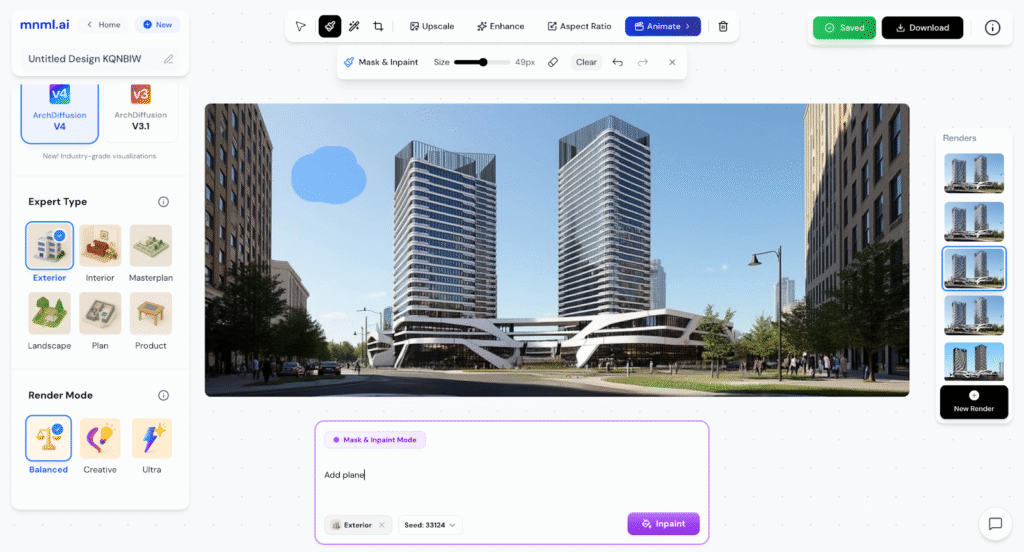
To add new elements using the Mask & Inpaint tool:
- Click the Mask & Inpaint button.
- Adjust the brush size to match the area you want to edit.
- Brush over the specific area where you want to add an element.
- In the prompt box, describe exactly what you want to add.
- Click the Inpaint button to generate the new element in your design.
This method works best for adding precise details such as furniture, lighting fixtures, plants, or decor.
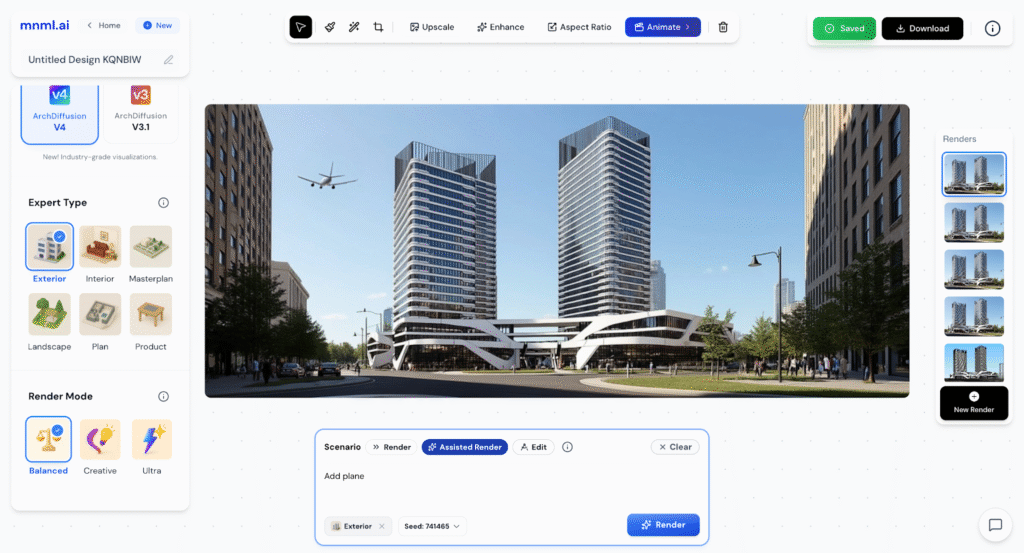
Sample 1
Prompt: Add plane
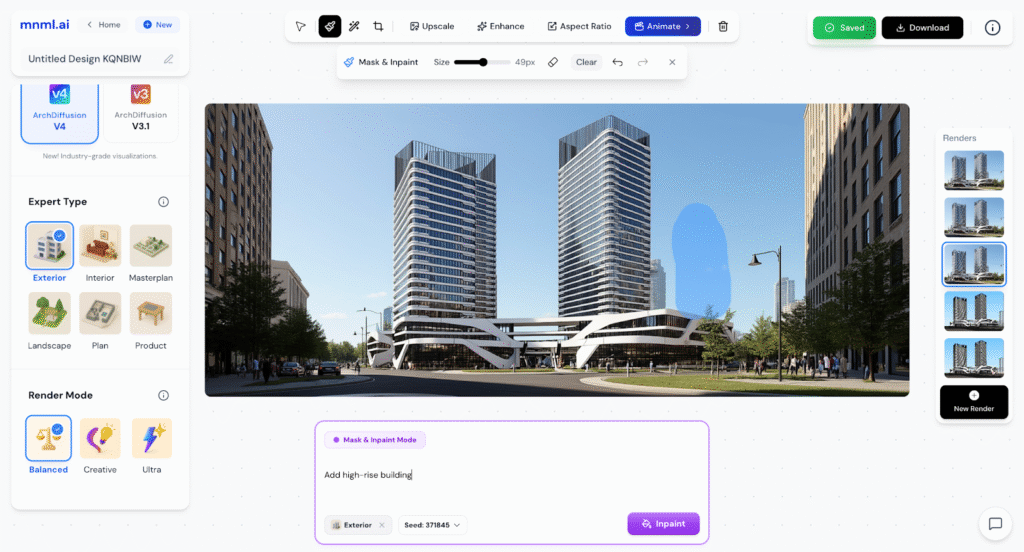
Sample 2
Prompt: Add high-rise building

Modify Elements
To modify existing elements using Mask & Inpaint, follow these steps:
- Click the Mask & Inpaint button.
- Adjust the brush size to fit the area you want to change.
- Brush over the exact element or region to be modified.
- In the prompt box, describe the change clearly (for example: change the sofa to dark blue velvet, replace the pendant with a round glass pendant, switch flooring to light oak).
- Click Inpaint to apply the update.
This workflow lets you adjust color, material, style, or form without re-rendering the entire image.
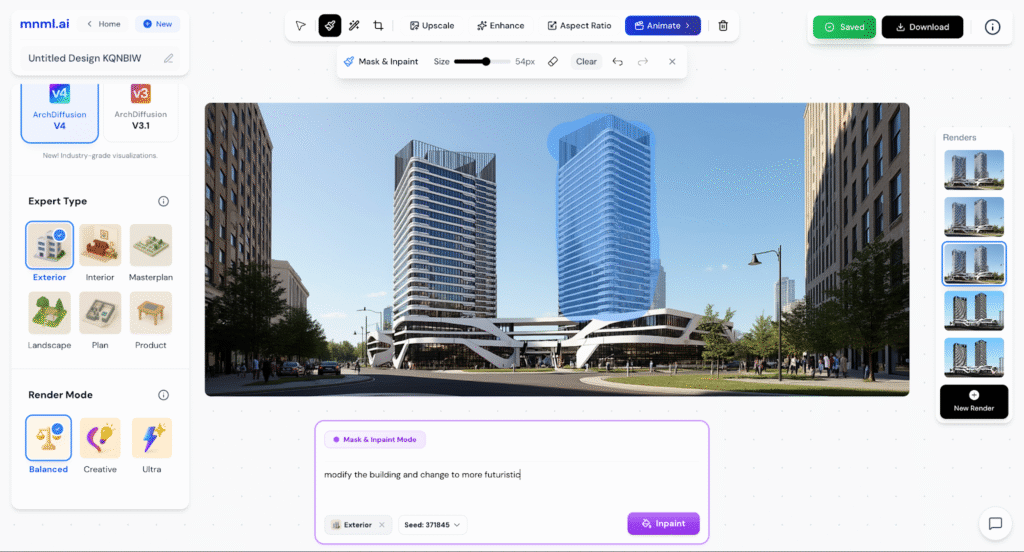
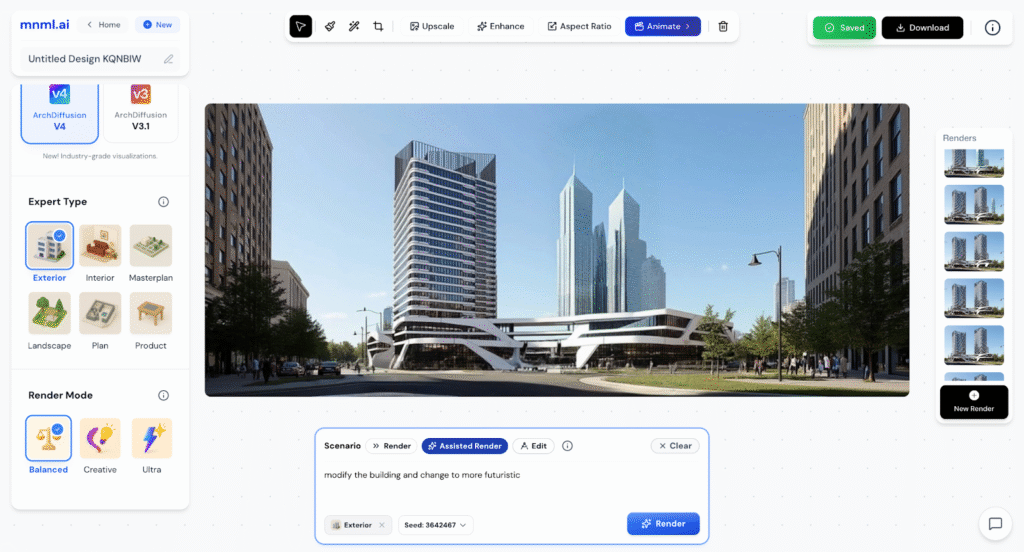
Sample 1
Prompt: Modify the building and change to more futuristic
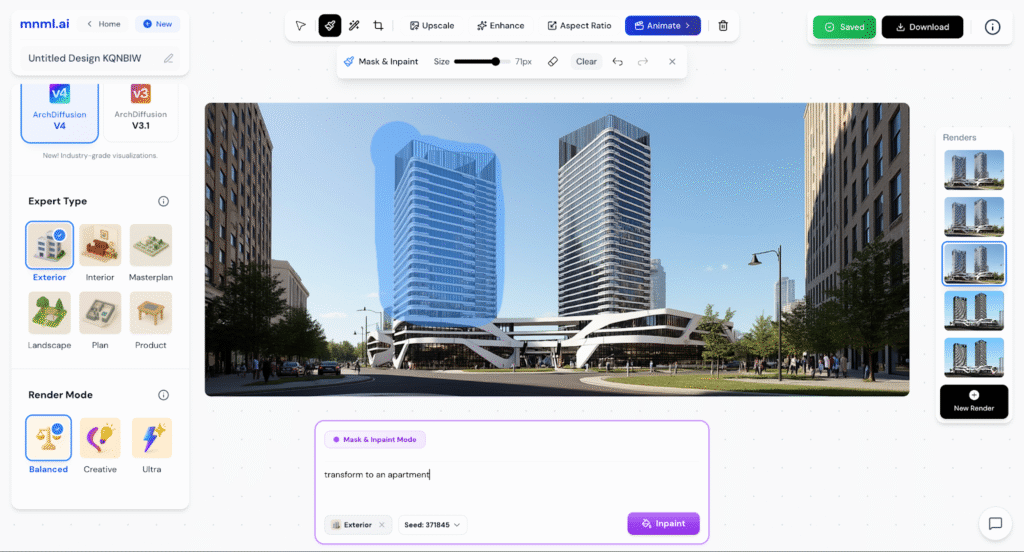
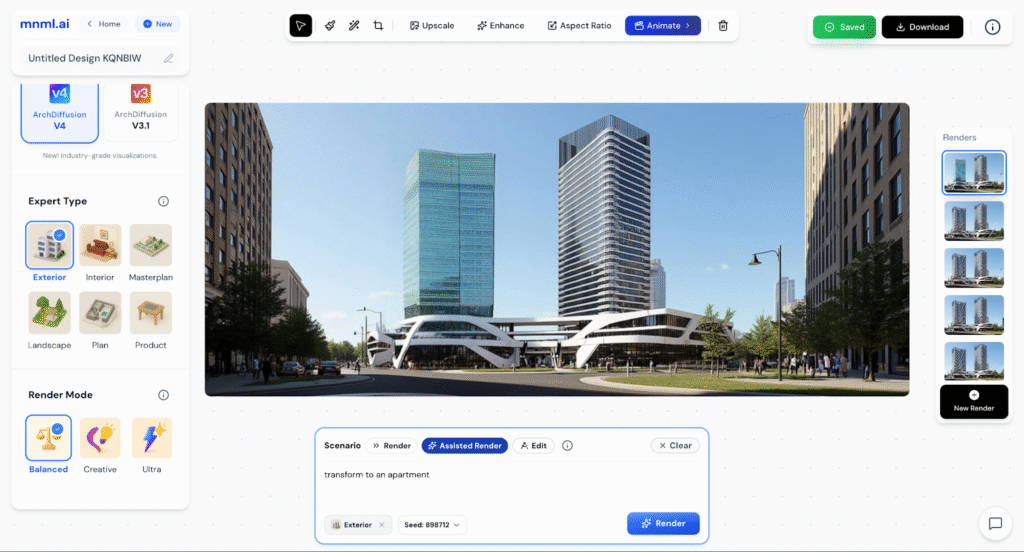
Sample 2
Prompt: Transform to an apartment
You can also explore different Render Modes, from Balanced to Creative, to see which mode best matches your design style and desired outcome.
Final Thoughts
The Mask & Inpaint tool gives you full control over localized edits, letting you add, modify, or refine details without starting over. It’s a quick and efficient way to enhance your design while maintaining accuracy. For the best results, experiment with different Render Modes—from Balanced for realism to Creative for more expressive outputs.