
This guide walks you through the process of turning your static renderings into smooth video animations using mnml.ai Studio. Each step is simple, visual, and designed to help you achieve cinematic results quickly.
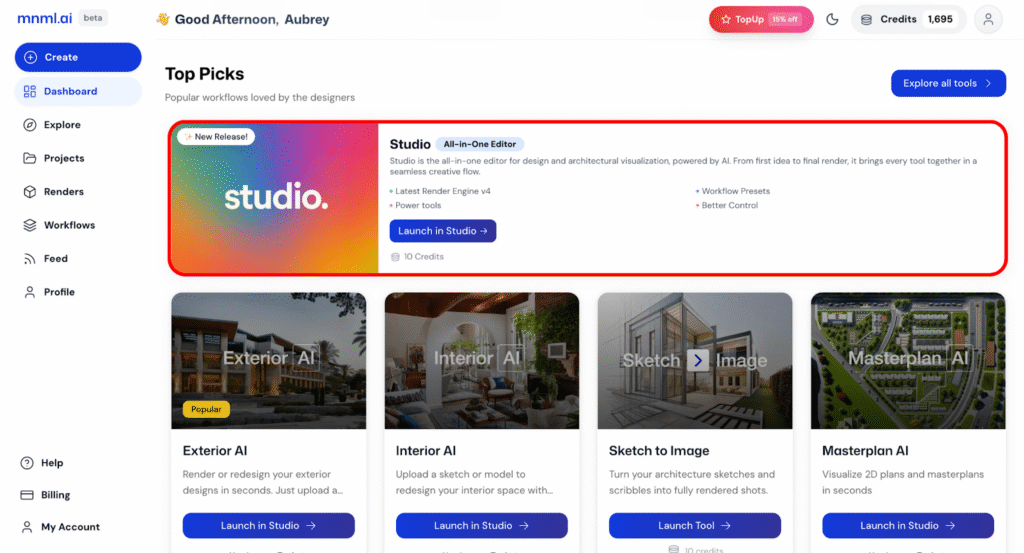
Step 1 — Open Studio
Click Launch in Studio from your dashboard to open the editor.
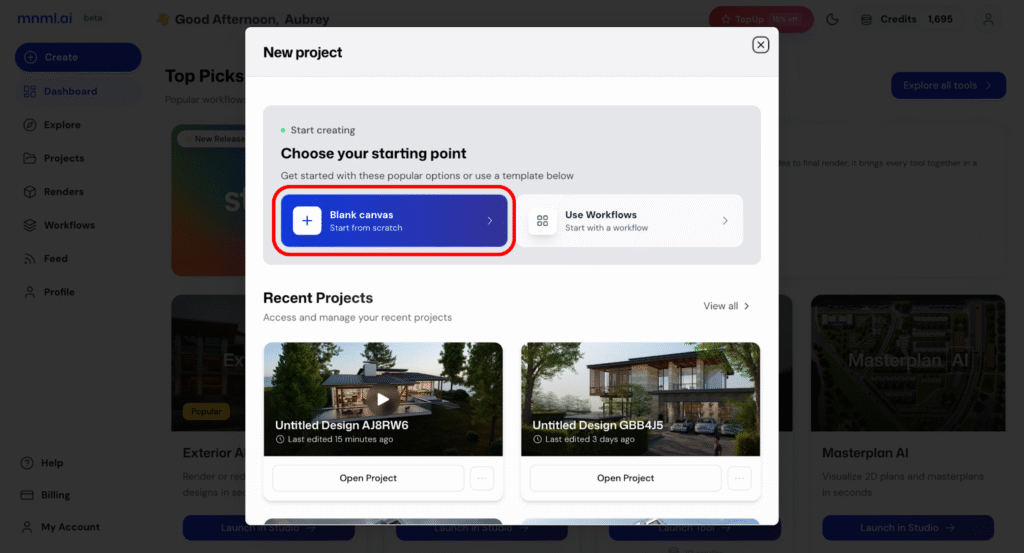
Step 2 — Choose Blank Canvas
Select Blank Canvas to start fresh and build your animation from scratch.
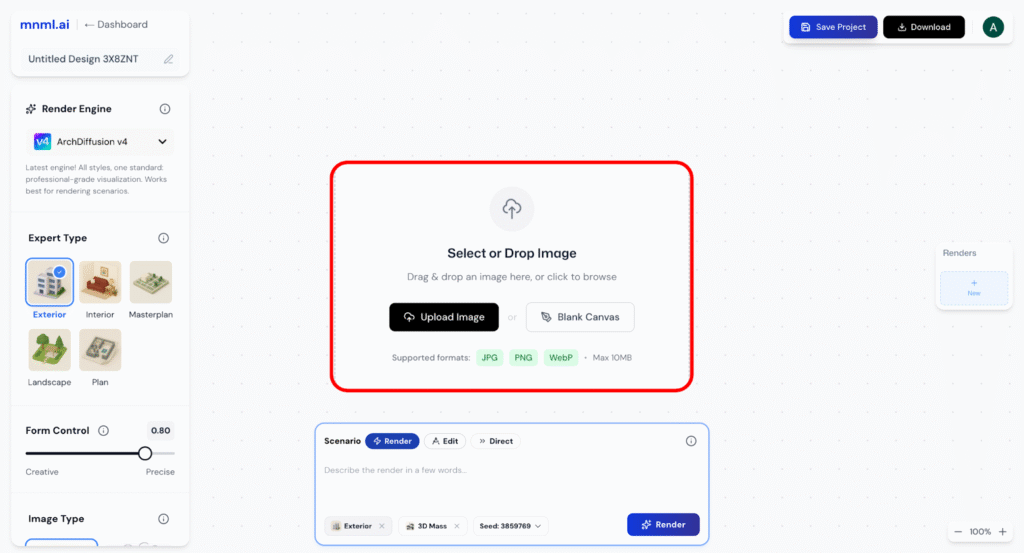
Step 3 — Upload Image
Select Upload Image and drag in your render file (JPG, PNG, or WebP, max 10MB). This is the still image you’ll be animating. Starting with a high-resolution render ensures smoother motion and better output quality in the final video.
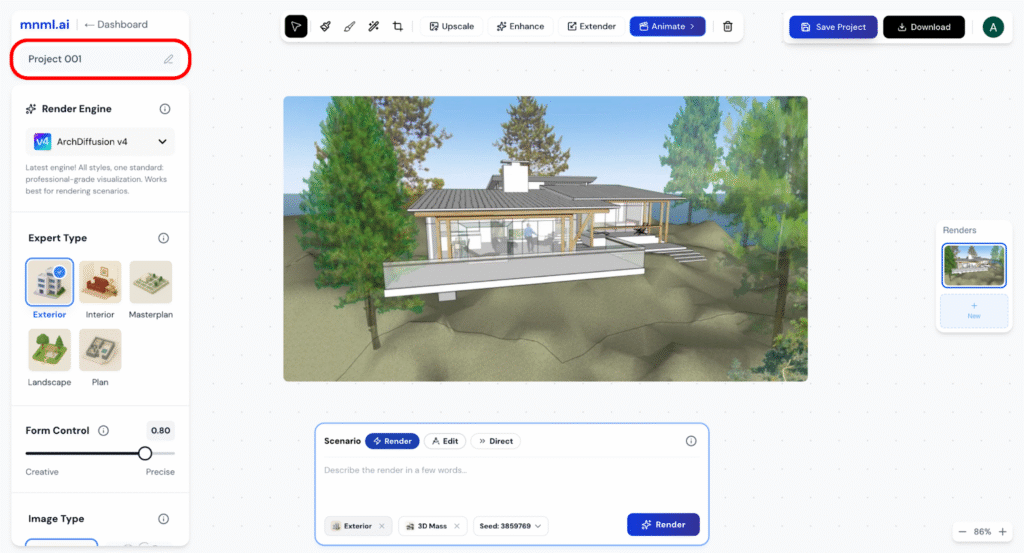
Step 4 — Add Project Title
Give your project a clear title, such as Project 001. Naming your project keeps your workflow organized and makes it easier to find and manage multiple animations later.
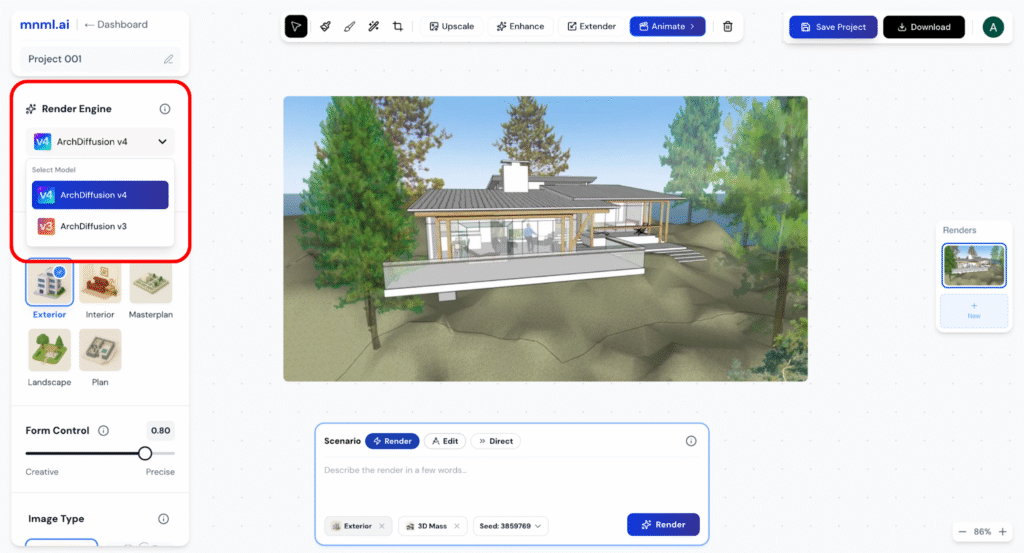
Step 5 — Choose Render Engine
Select the Render Engine that best fits your project. For the highest quality and performance, choose ArchDiffusion v4. This engine ensures even detail, smoother textures, and better depth handling—key for creating professional animations. Older versions, like v3, can still be used for lighter tasks but are less optimized for animation workflows.
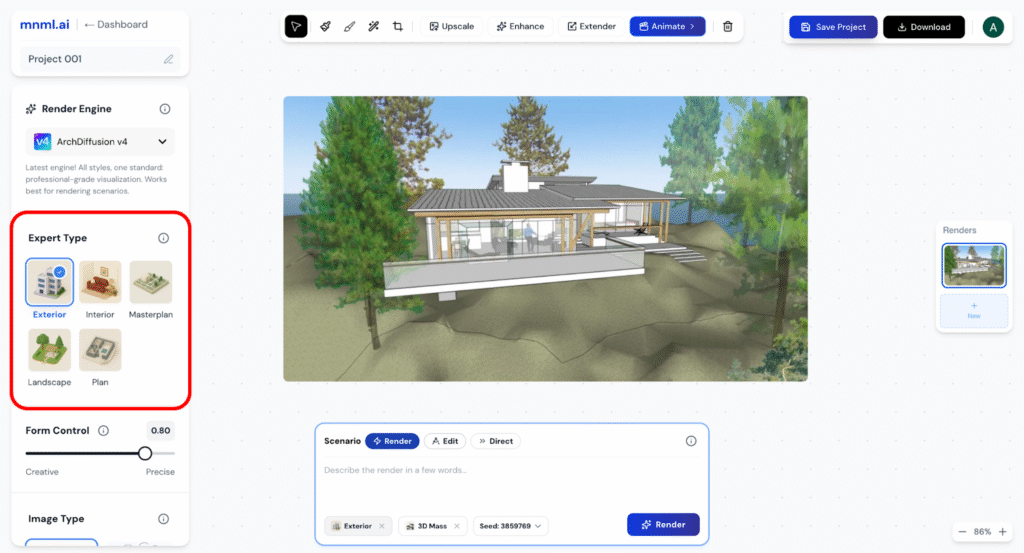
Step 6 — Pick Expert Type
Choose the Expert Type that matches your project: Exterior, Interior, Masterplan, Landscape, Plan, or Product. This helps Studio optimize its tools and presets for your specific use case—for example, exteriors will focus on natural lighting and building massing, while interiors emphasize furniture, finishes, and ambiance.
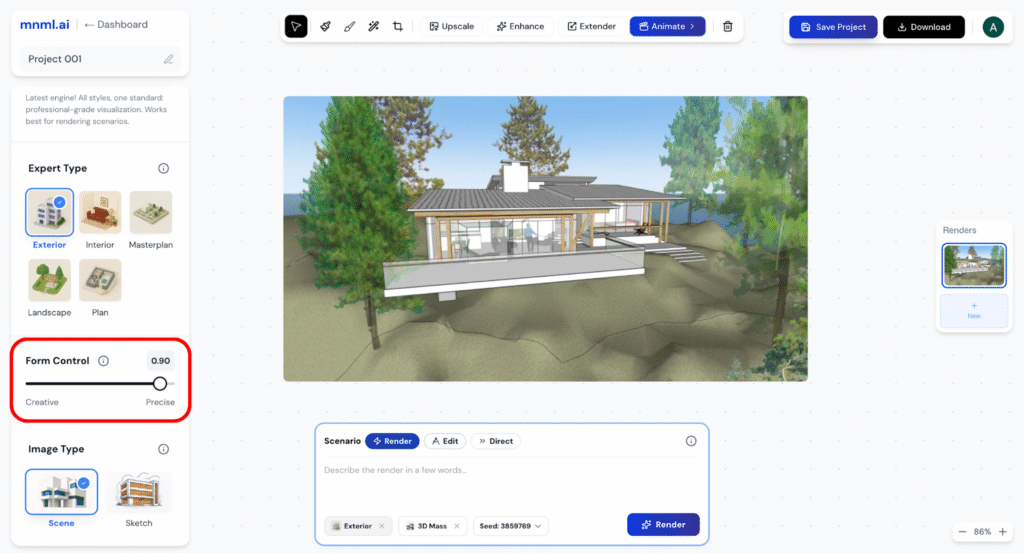
Step 7 — Adjust Form Control
Use the Form Control slider to decide how strictly the design adheres to your prompt.
- Lower values → encourage creative reinterpretation (ideal if you want the AI to explore variations, but requires detailed prompts to guide it).
- Higher values → ensure precise and controlled forms that stick closely to your input render.
This balance lets you decide whether to prioritize faithful replication or imaginative variation.
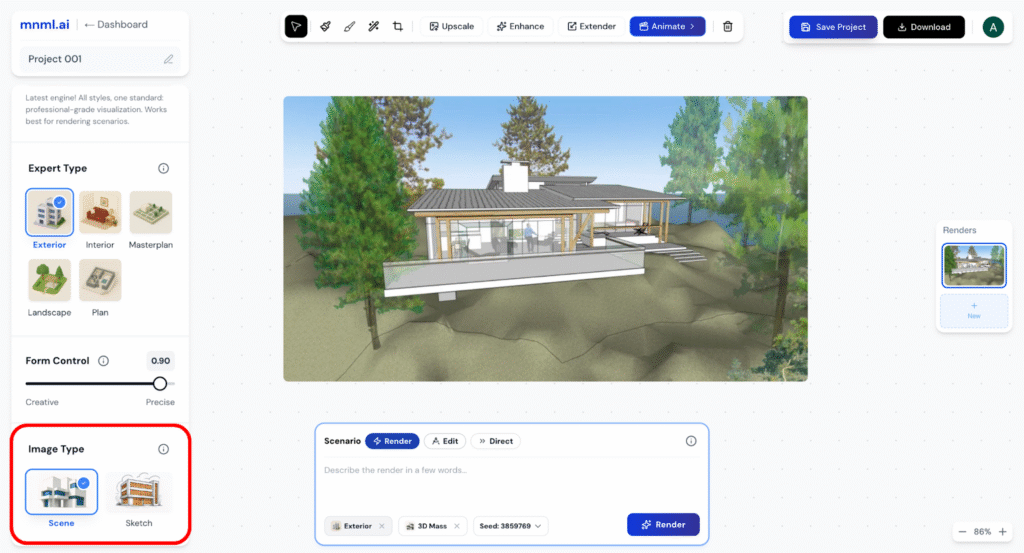
Step 8 — Choose Image Type
Select whether your input is a Model/Scene or a Sketch.
- Scene → Best for 3D renders, realistic outputs, and architectural visualizations.
- Sketch → Best for sketches, linework, or conceptual illustrations.
This choice helps Studio interpret your image correctly and generate the most accurate animation results.
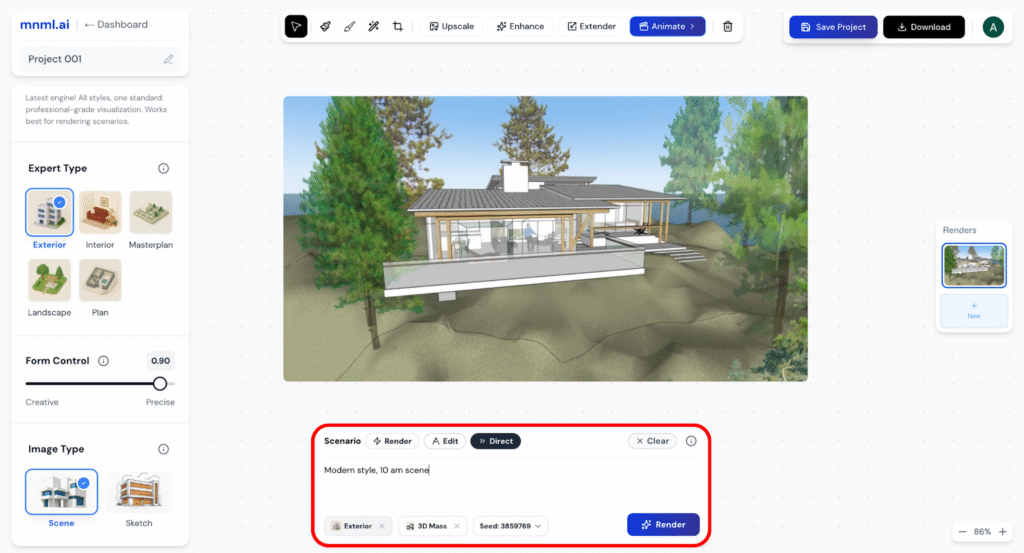
Step 9 — Add Your Prompt
Write a clear and descriptive prompt to guide the rendering. For example: “Modern style, 10 am scene”. You can set the Scenario to Render, Edit or Direct depending on how the input should influence the output:
- Render → focuses on realism and material accuracy.
- Edit → applies changes more loosely for design exploration.
- Direct → disables prompt influence and sticks entirely to the input image.
The more specific your prompt, the better Studio can match your intended mood, lighting, and style.
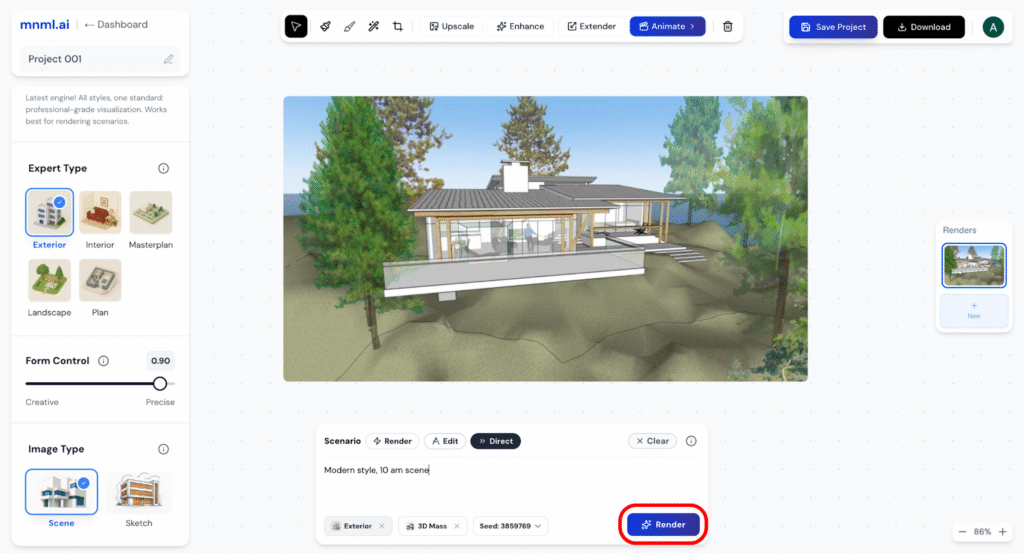
Step 10 — Click Render
Press Render to generate your first processed version.
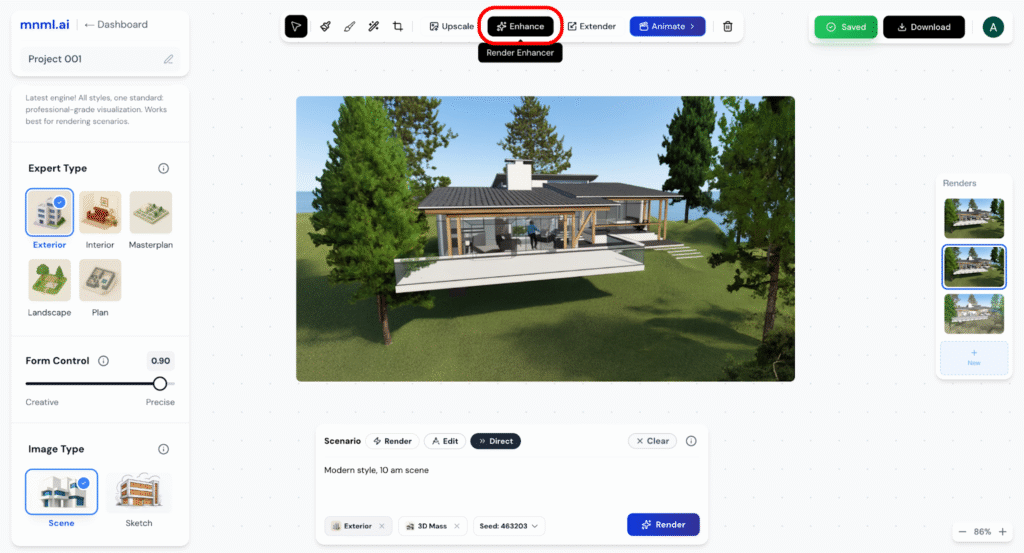
Step 11 — Click Render Enhancer
Once the render is complete and you are happy with the result, click Enhance. This step refines your image by applying advanced AI adjustments for clarity, detail, and overall visual quality. It ensures your base render is polished before moving into animation, giving you the cleanest possible starting point.
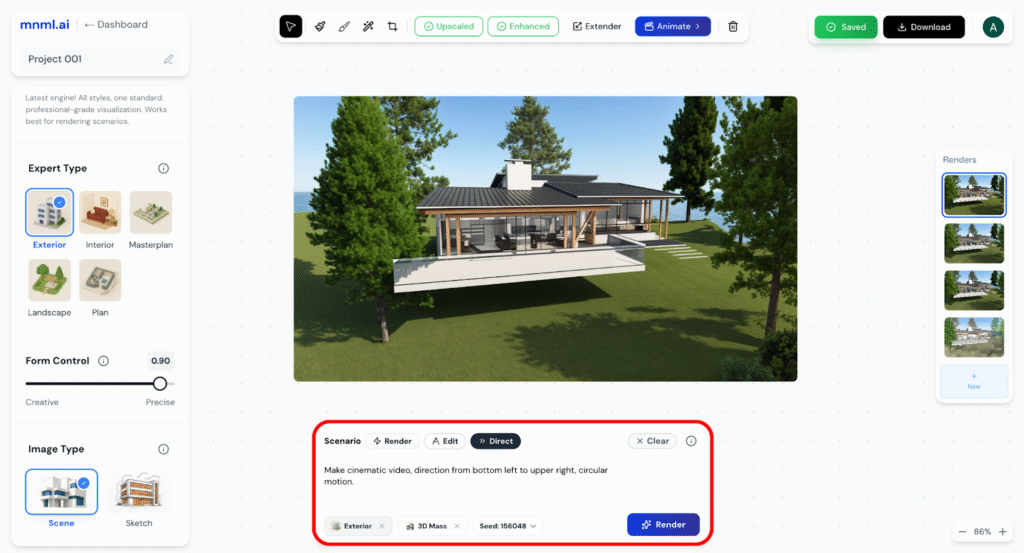
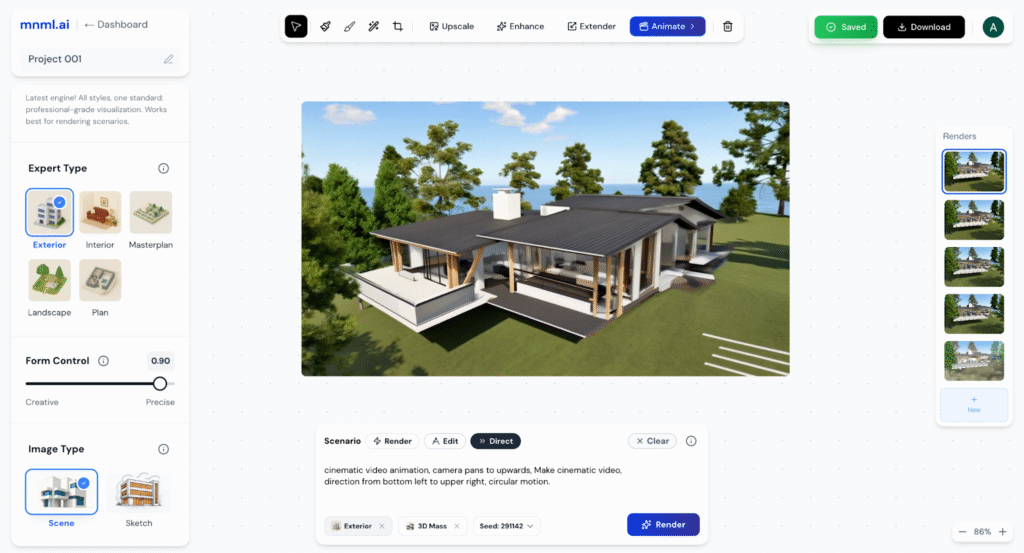
Step 12 — Add Animation Prompt
Describe how you want your still render to move. For example: “Make cinematic video, direction from bottom left to upper right, circular motion.” This is where you define the style, direction, and motion path of your animation. Clear descriptions (dolly-in, pan, orbit, tilt, circular motion) help Studio create smooth, cinematic results that match your vision.
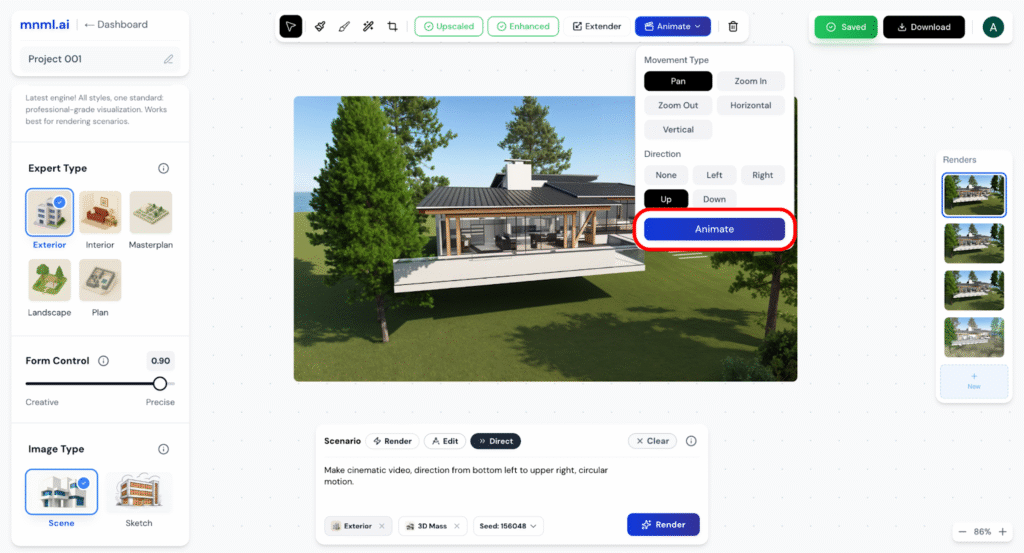
Step 13 — Select Movement and Direction
To animate your render, open the Animate menu, choose a Movement Type such as Pan, Zoom, Horizontal, or Vertical, then select the Direction—Left, Right, Up, or Down—and click Animate to apply smooth, cinematic motion.
Step 14 — Click Animate
Press Animate to generate your video sequence.
Note: You can edit your animation prompt anytime to adjust style, direction, or motion until it matches your vision.
Final Thoughts
mnml.ai Studio makes it easy to bring your still renderings to life. By combining prompts, form control, and animation tools, you can create cinematic visuals that elevate your presentations. Keep your inputs clear and movements subtle for the most professional results.