
This guide focuses on the Crop Image tool; another simple yet powerful editing feature for designers. It allows you to trim and focus on the most important areas of your render, helping you emphasize key scenes or details.
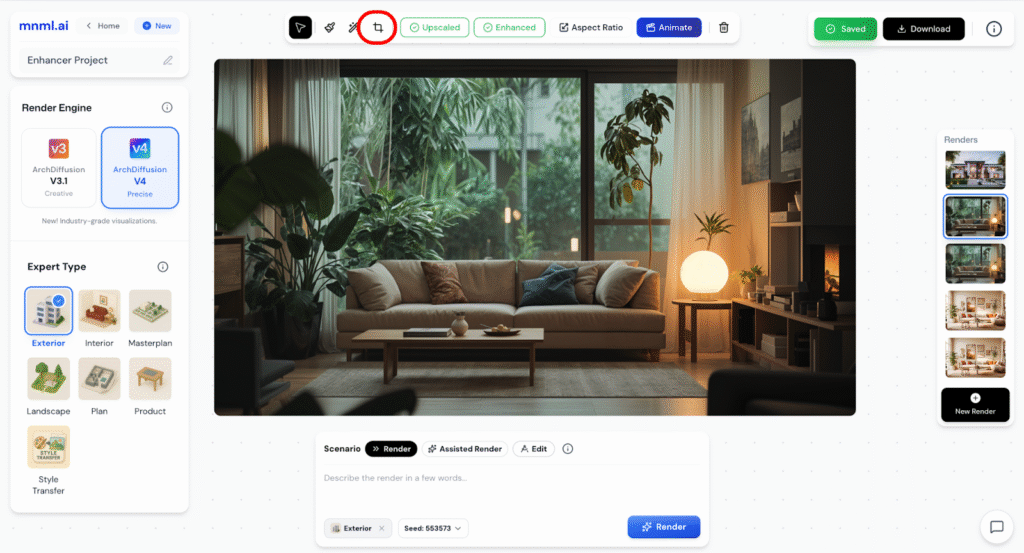
You can find the Crop Image tool at the top center of the Studio interface. It’s easy to use and perfect for quick adjustments when you want to frame your composition better or remove unnecessary parts of your image.
How to Crop an Image
To crop an image, follow these simple steps:
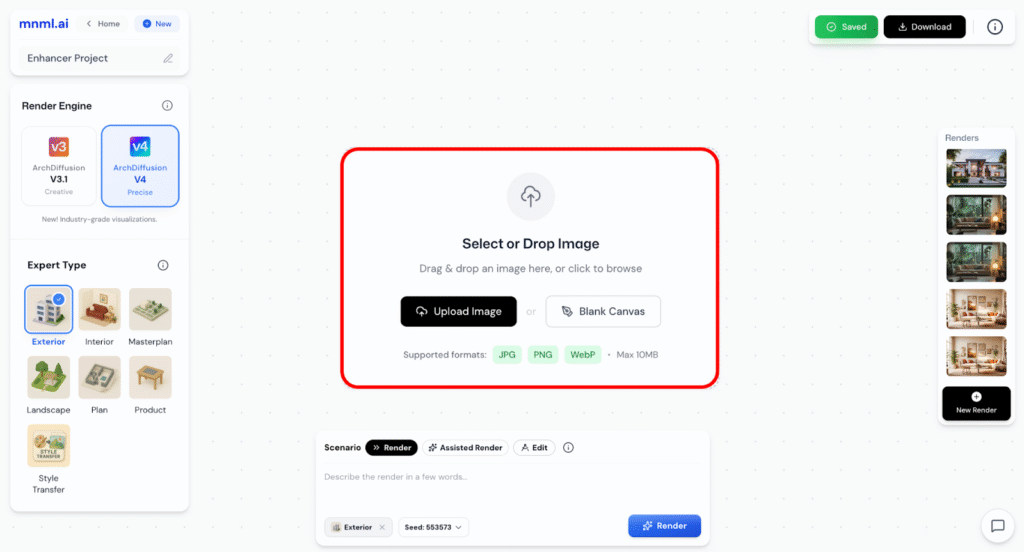
- Upload the image you want to crop.
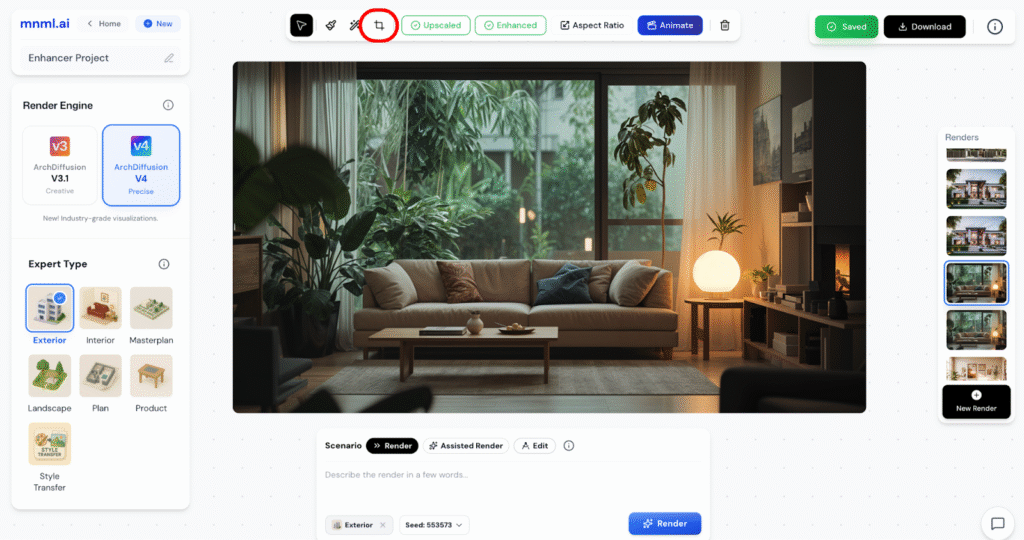
- Click the Crop button located at the top center of the Studio interface.
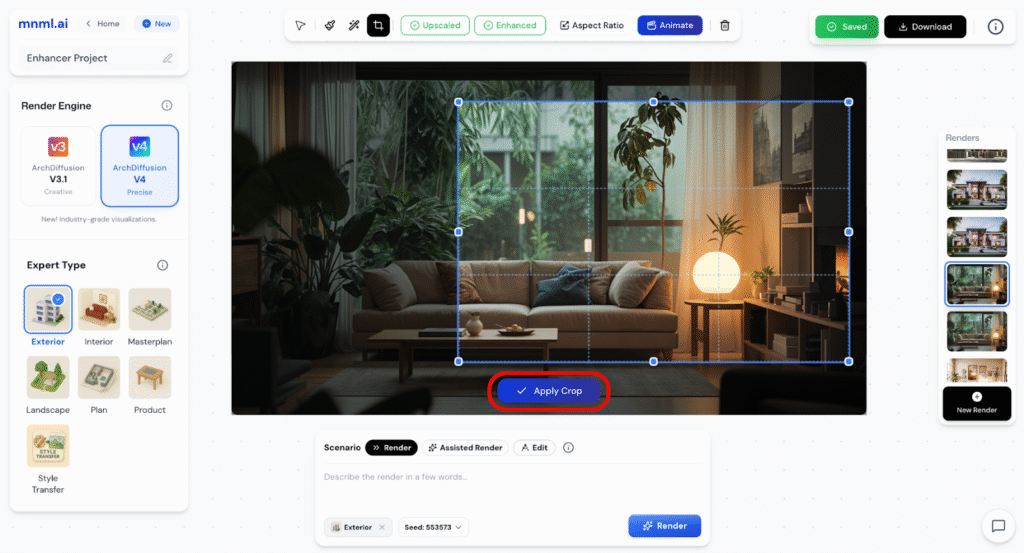
- Adjust the crop area to focus on the part of the image you want to keep.

- Click Apply Crop to confirm your selection.
- Choose between Save Changes to overwrite the image or Save New Copy to keep both versions.

This gives you quick control over framing and helps highlight the most important parts of your design.
Final Takeaways
The Crop Image tool is a quick and reliable way to refine your composition. It helps you focus on key parts of your design, remove distractions, and create a balanced frame. Whether you’re preparing a presentation or polishing your final render, cropping ensures your visuals stay clean, intentional, and professional.