
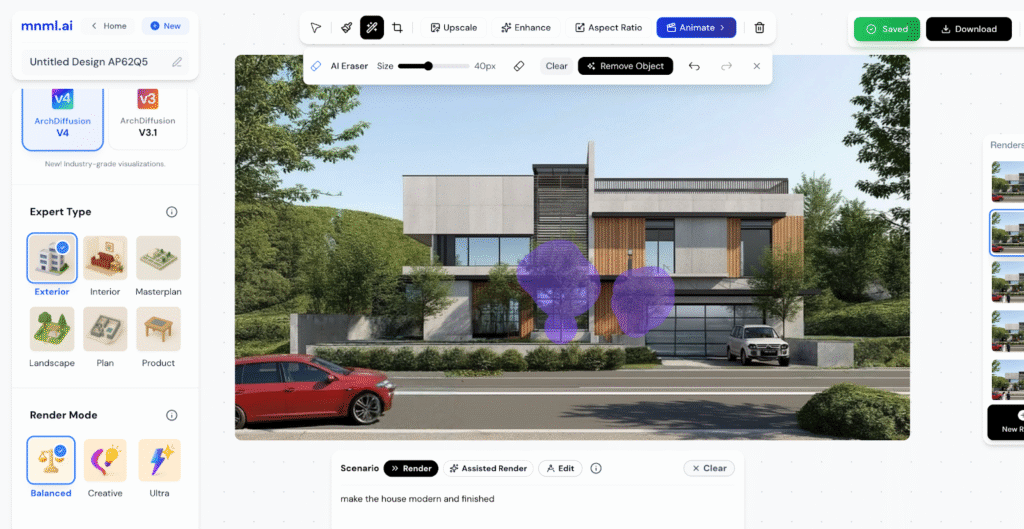
The AI Eraser helps you remove unwanted elements from your renders quickly and cleanly. You can adjust the brush size to match the area you want to erase. This tool is located in the Power Tools section at the top center of the Studio interface, right beside the Mask & Inpaint tool.
In this guide, we’ll go through a few scenarios to show how to use the AI Eraser effectively in your design workflow.
Remove Object Using AI Eraser
To remove unwanted objects using the AI Eraser, follow these steps:
- Click the AI Eraser button from the Power Tools section.
- Adjust the brush size to match the area you want to erase.
- Click and brush over the objects or elements you want to remove.
- When satisfied with your selection, click the Remove Object button.
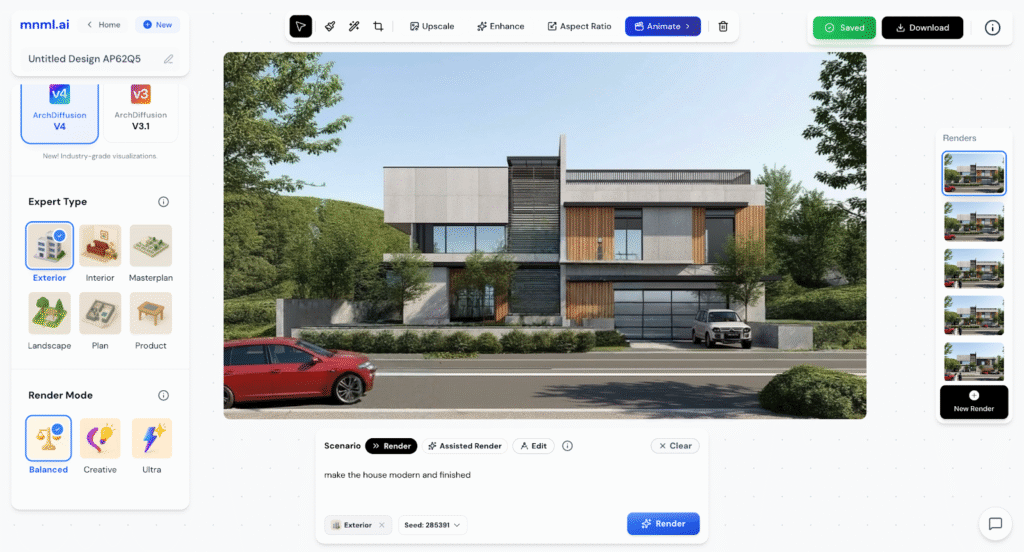
You can also use the Undo and Redo buttons to fine-tune your edits and control the process more precisely.
Sample 1: Remove car


Sample 2: Remove people


Sample 3: Remove trees
Tip: For the best and cleanest results, try removing only one or two objects at a time. This helps the AI generate smoother and more accurate corrections.
Final Thoughts
The AI Eraser is a simple yet powerful tool for refining your renders. It lets you clean up visuals quickly without affecting the rest of your design. Use it for small, precise edits like removing objects or distractions, to keep your scene balanced and realistic. With a careful approach, you can achieve professional, polished results in just a few clicks.