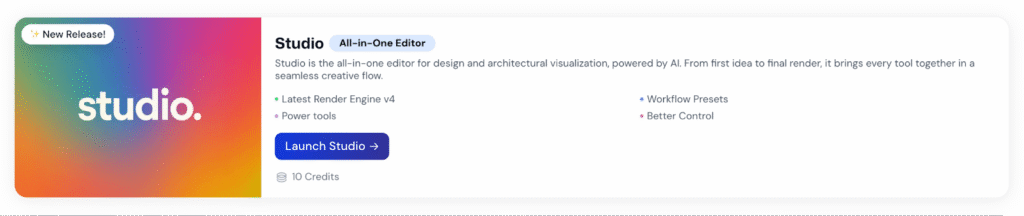
Bring your interior concepts to life with Studio AI. This tool is designed for flexibility — whether you’re starting from a blank canvas or refining an existing sketch, Studio AI gives you creative control over the process. With just a few simple steps, you can generate, enhance, and download polished interior visuals that capture your design vision.
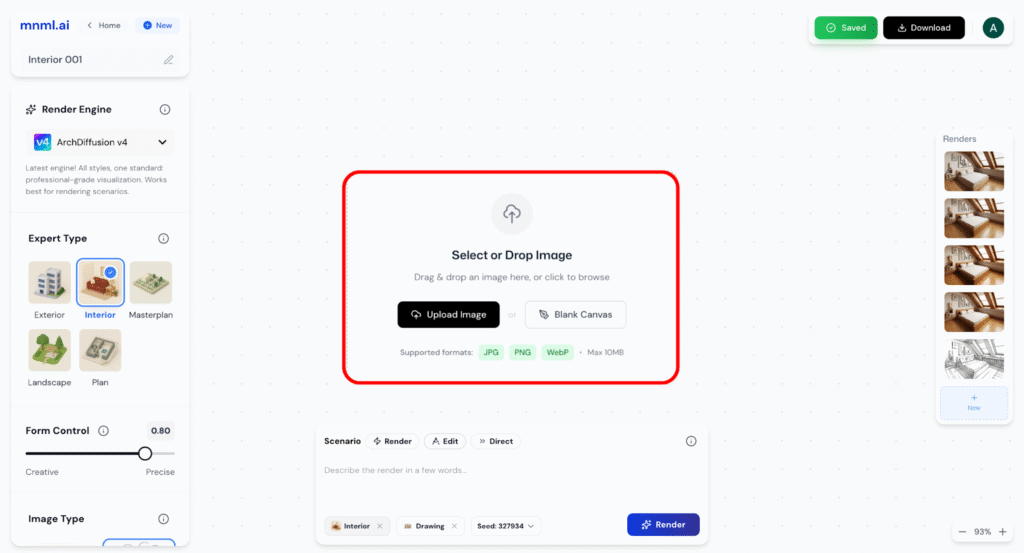
Step 1: Upload or Start with a Blank Canvas
Begin your Studio AI project by uploading a base image or starting fresh with a blank canvas.
- Upload Image: Drag and drop or select a JPG, PNG, or WebP file (up to 10MB).
- Blank Canvas: Start from scratch and build your interior concept directly in Studio AI.
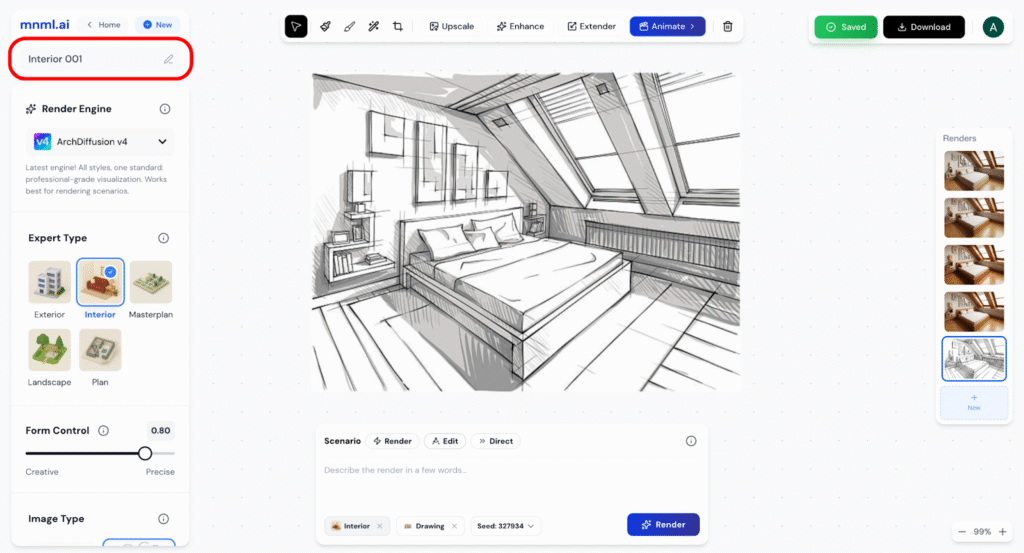
Step 2: Add a Title
Give your project a clear, descriptive title. This helps keep multiple versions organized and makes it easier to track your design progress.
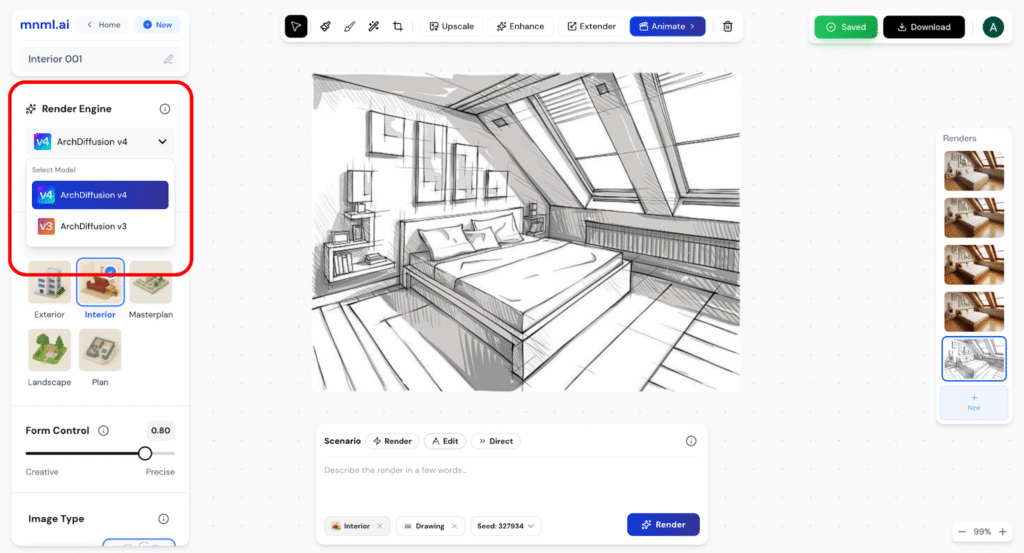
Step 3: Select Render Engine
Pick the AI engine that best fits your project.
- v4.0: Balanced quality and performance, great for most interiors.
- v3.1: Better for abstract or conceptual experiments.
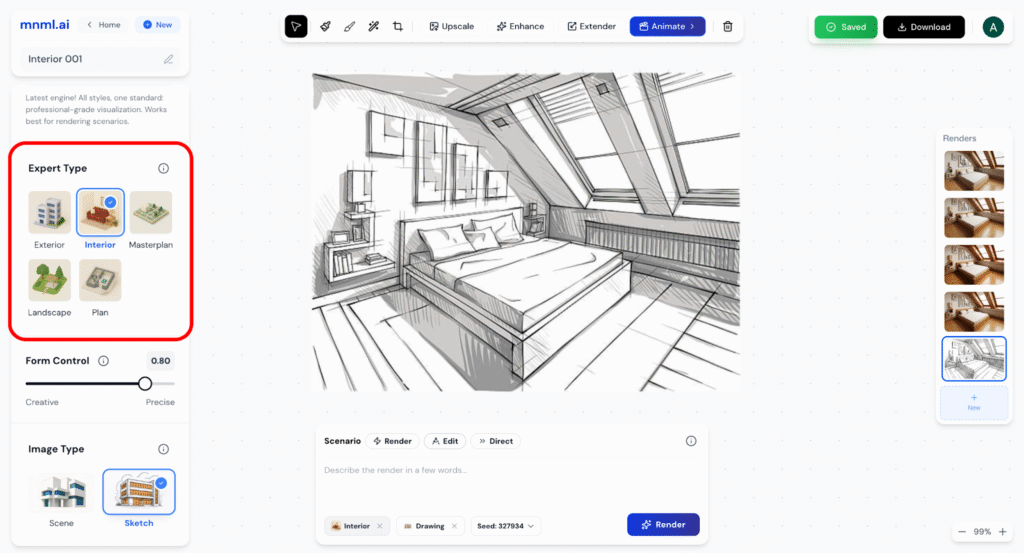
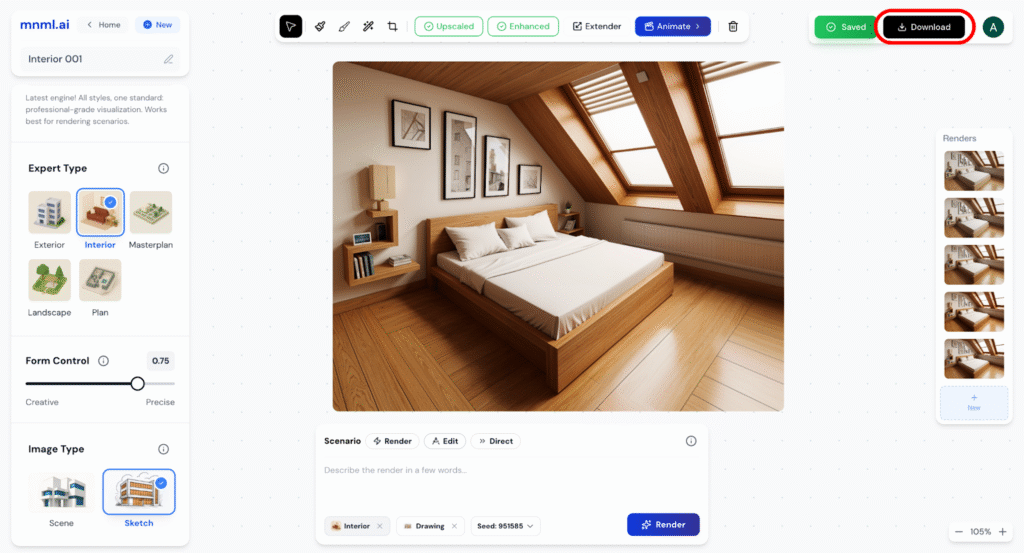
Step 4: Choose Expert Type
Select the visualization expert that matches your task. Options range from interiors and exteriors to masterplans, landscapes, and products. For this guide, choose Interior.
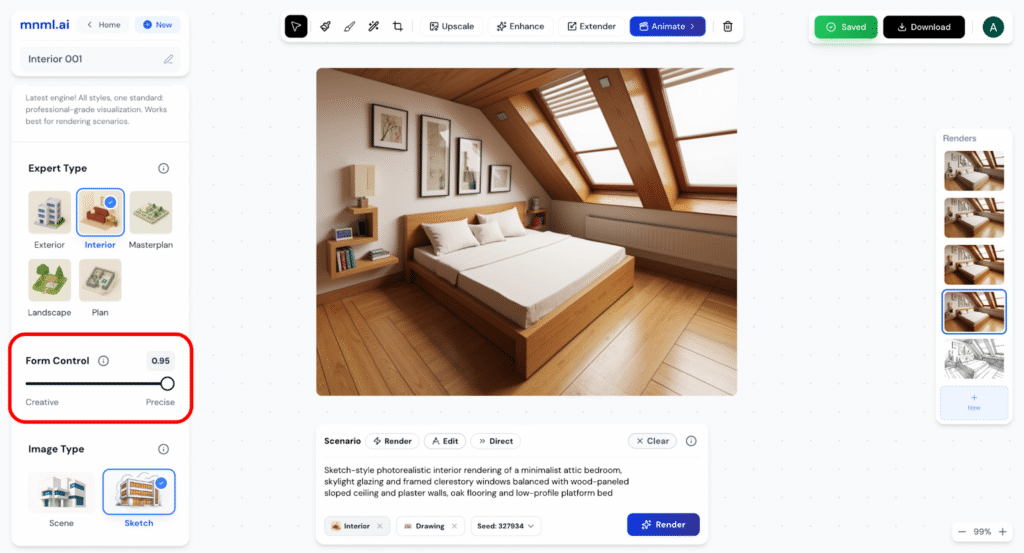
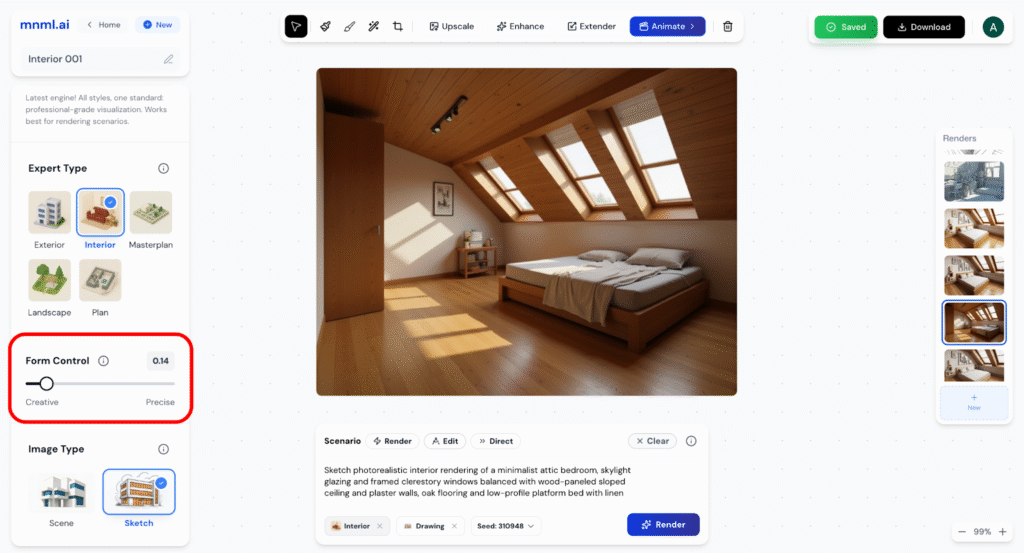
Step 5: Adjust Form Control
Decide how closely the AI should follow your instructions.
- Creative (lower values): More freedom, better for exploring new ideas.
- Precise (higher values): Stricter, better when you want accuracy.
Detailed prompts give the best results when working in creative mode.
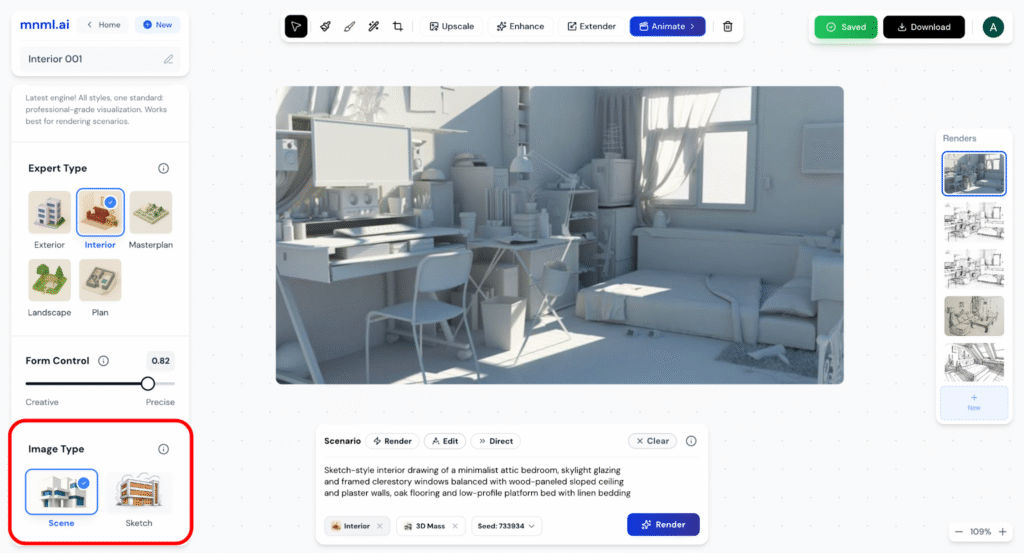
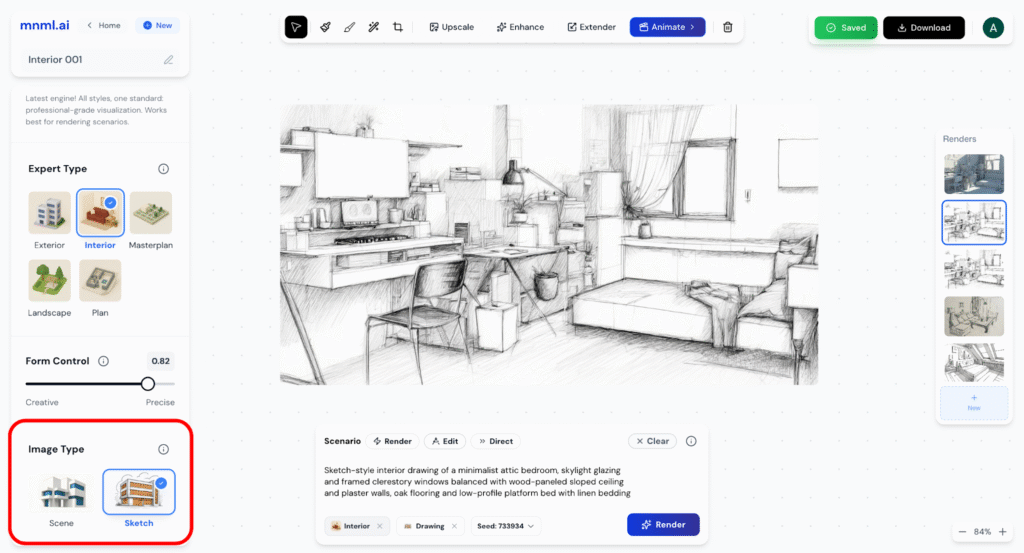
Step 6: Select Image Type
Choose the kind of image you’re starting with, such as a 3D model, photo, or sketch. The input type affects how Studio AI interprets and transforms your design.
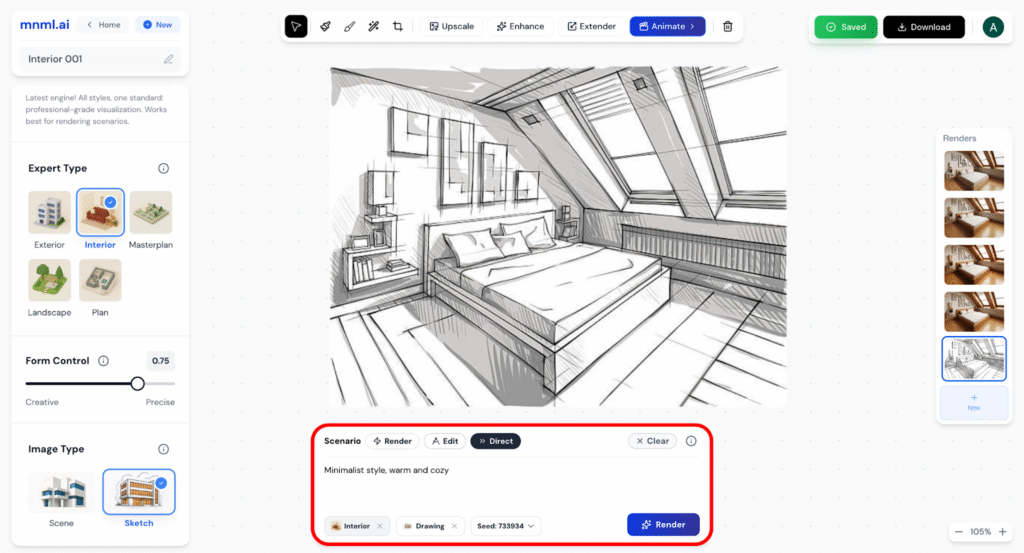
Step 7: Enter Your Prompt
Use the prompt area to describe your design. The more detail you provide, the more accurate the result. Prompts shape everything — from materials and finishes to lighting and atmosphere.
Switch between modes (Render, Edit, Direct) depending on how you want the AI to interpret or refine your prompt.
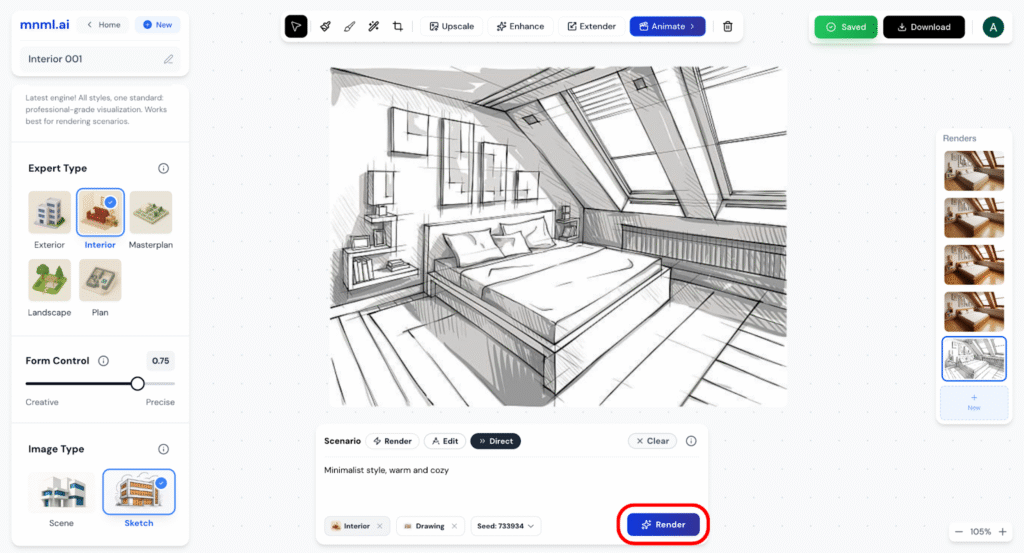
Step 8: Render
Click Render to generate your interior visualization. Studio AI will process your inputs and create a design based on your prompt, settings, and image type.
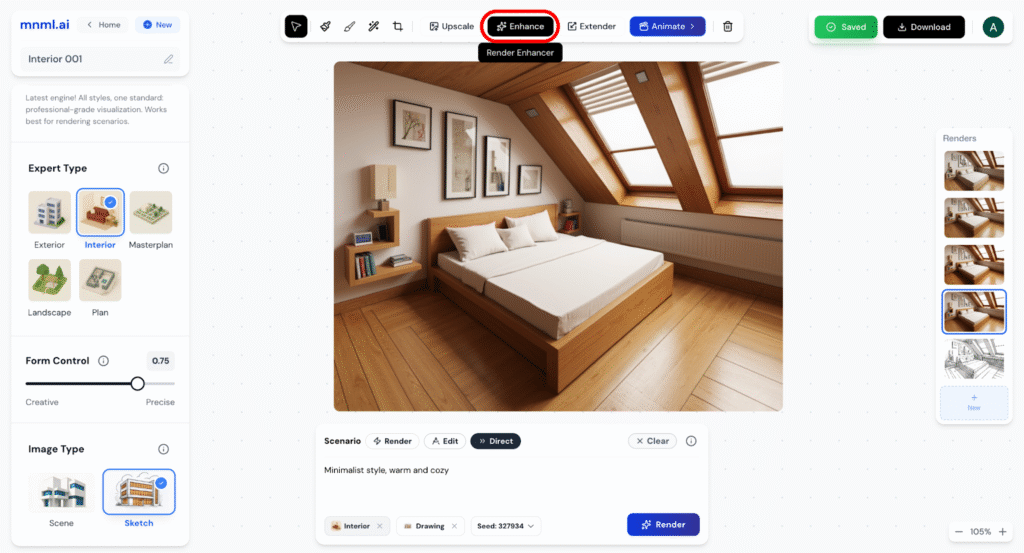
Step 9: Enhance
After generating your render, use Enhance to sharpen details and boost overall image quality. This makes the final result cleaner and more presentation-ready.
Step 10: Download
When you’re satisfied, click Download to save your render. Keep files organized so you can revisit different versions and compare results.
Final Thoughts
Studio AI gives you the power to design interiors with both precision and creativity. By combining structured inputs (like image type and form control) with imaginative prompts, you can generate results that feel unique and professional.
Experiment with different engines, try multiple prompts, and use the enhance feature to polish your designs. The more you explore, the more Studio AI becomes a creative partner — helping you bring your interior ideas from concept to reality.