In this guide, we’ll walk you through how to use Furniture AI with the ArchDiffusion v4.1 engine; perfect for placing, testing, and visualizing furniture in your home or design projects. You’ll get a friendly tour of the updated interface, learn what’s new in the latest version, and see simple sample parameters you can start using right away. Whether you’re experimenting or refining a concept, this guide helps you get great results fast. Let’s get started.
Interface Walkthrough
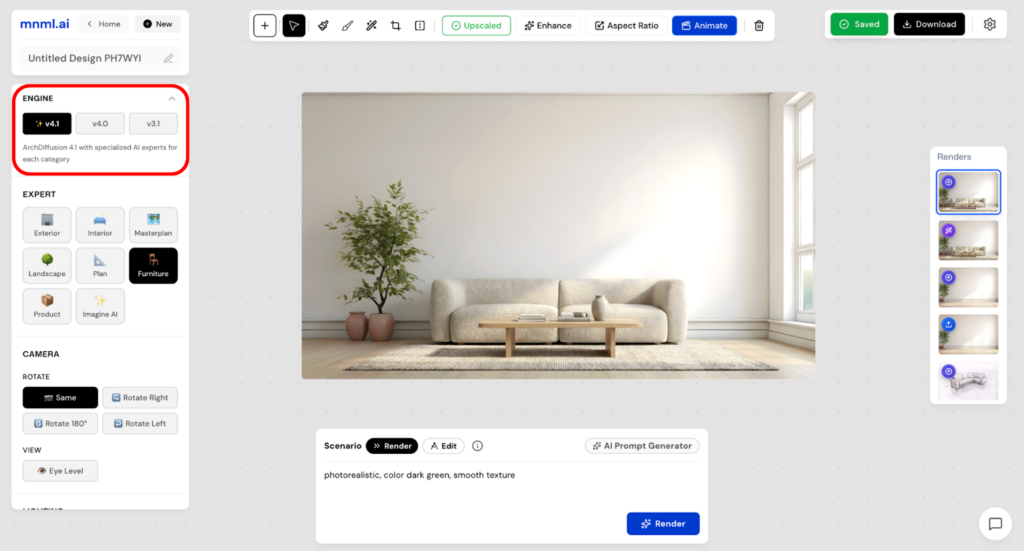
You’ll find the v4.1 engine listed alongside other engines in the top-left corner of the interface. This is where you select the version you want to work with.
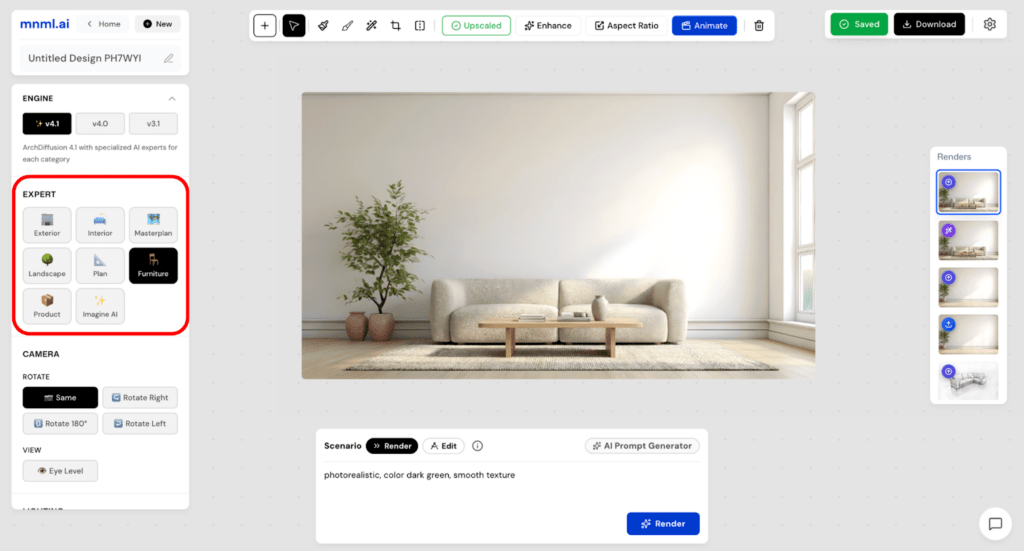
Next up is the Expert section. Here, you can define your project type, such as Interior, Exterior, or Furniture. Choosing the correct project type helps the engine better understand your goals and deliver more accurate, relevant results.
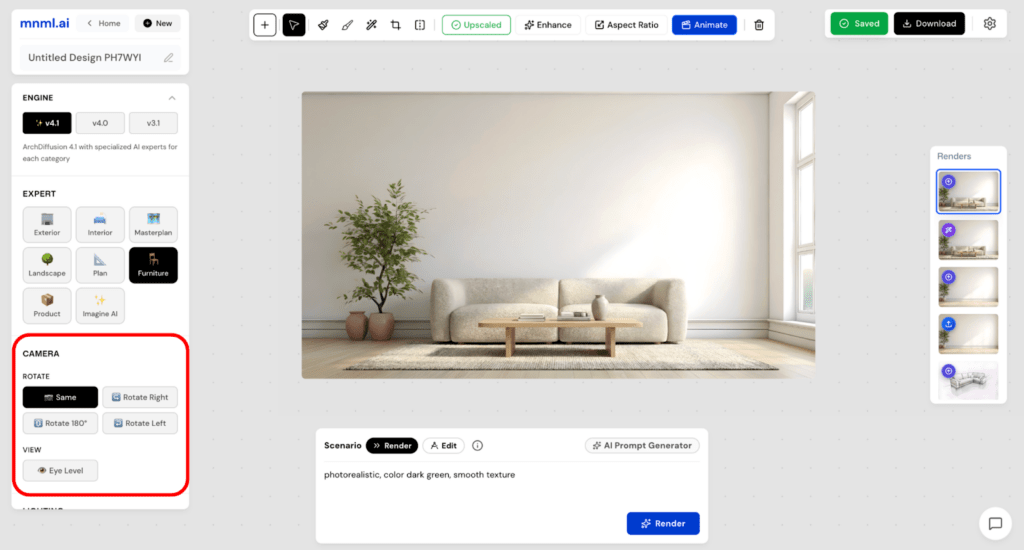
Below that is the Camera section, which includes two settings: Rotate and View. These options let you control the angle and perspective of your image. You can stick with the original view or switch to alternatives like eye level view, depending on how you want to present your design.
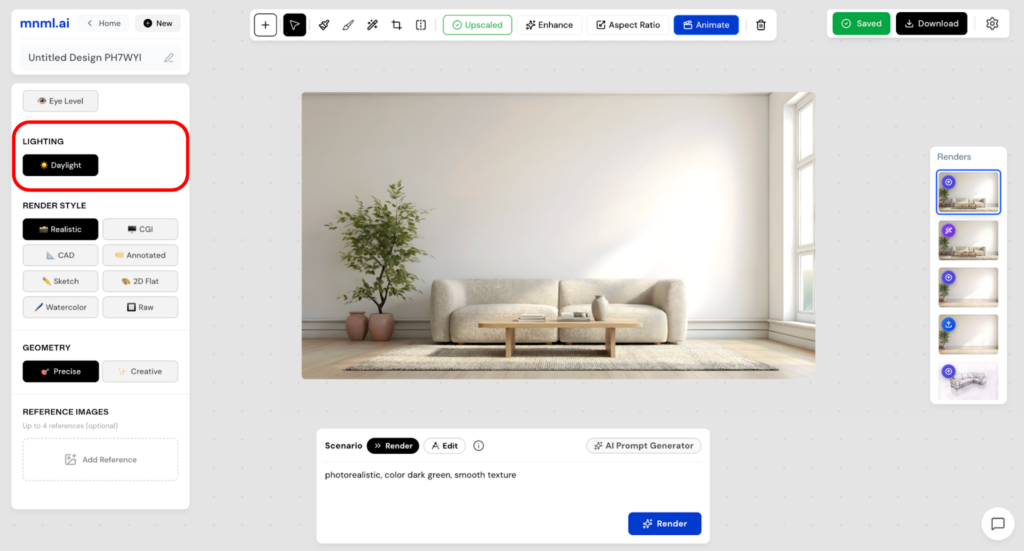
The Lighting section comes next. This setting allows you to define the overall mood of your render based on the time of day. At the moment, Daylight is the only available option.
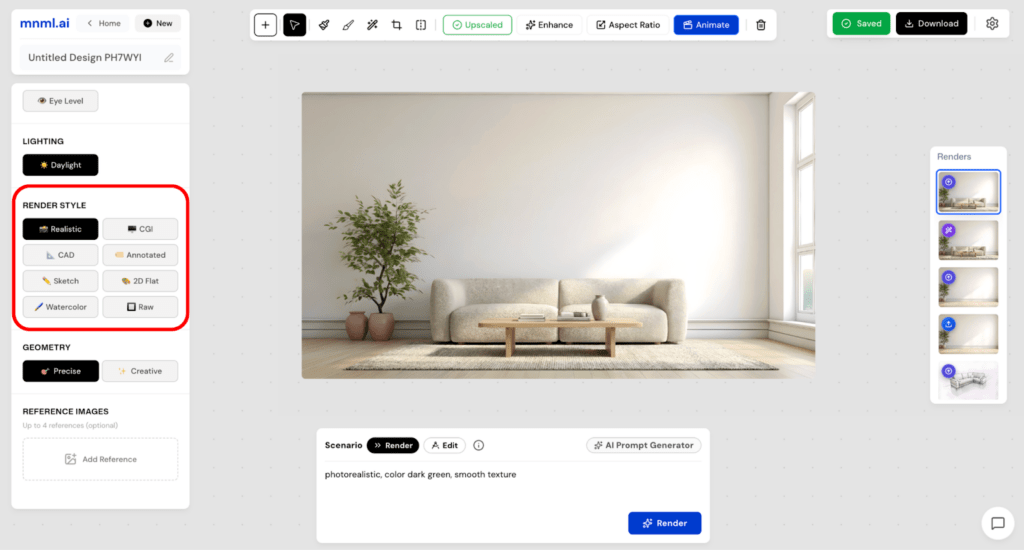
After lighting, move on to Render Style. This determines the overall look and feel of your output. While Realistic is the most commonly used style, you can also experiment with options like CGI or Sketch to suit different presentation needs.
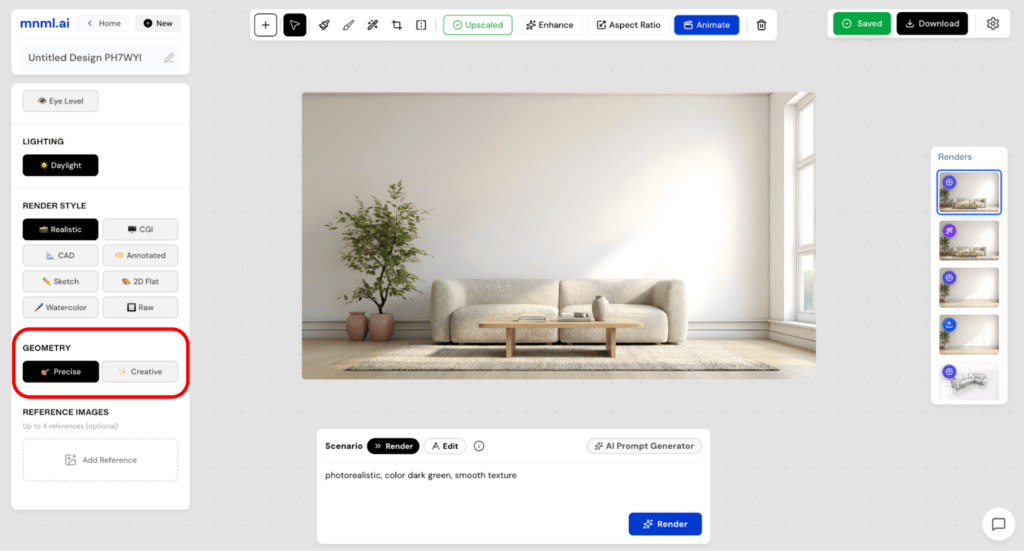
The second-to-last section is Geometry, which plays a major role in shaping your final result:
- Choose Precise to maintain accurate geometry.
- Select Creative for a more flexible and expressive interpretation.
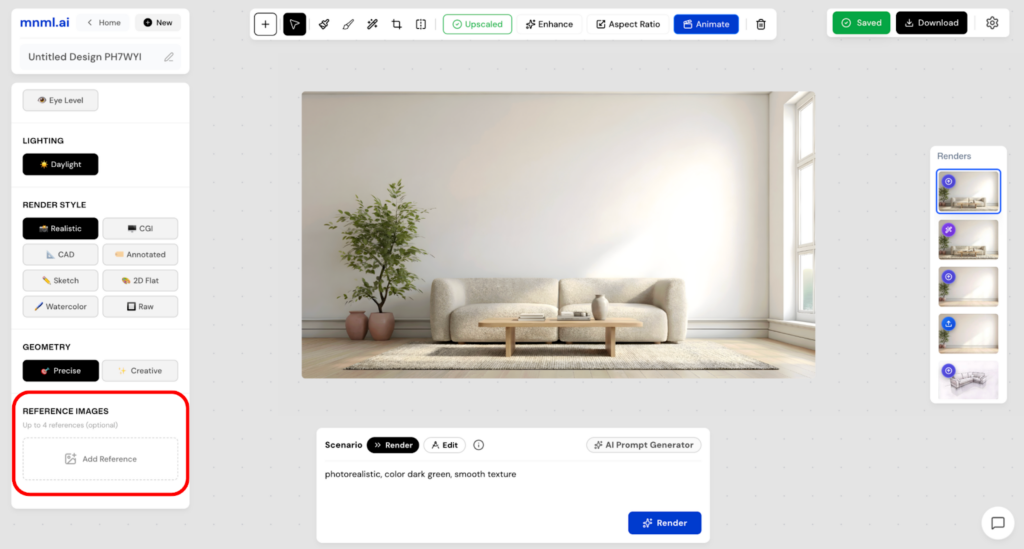
At the bottom of the interface, you’ll find Reference Images. This feature helps guide the AI toward a specific look or style. You can upload up to four reference images to improve consistency and better align the output with your vision.
To finish setting up, head to the prompt box and select a Scenario. Choose Render for a more controlled and accurate result, or Edit if you’d like more creative freedom.
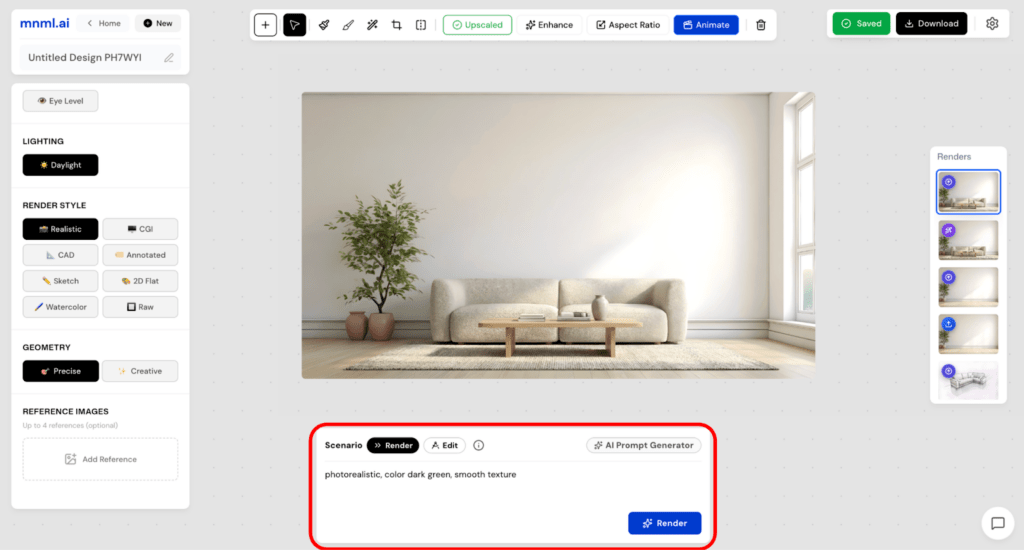
Once everything is ready, simply click Render and wait a few seconds to see your design come to life.
Sample Workflows
Now, let’s take a look at some sample furniture design parameters you can try right away.
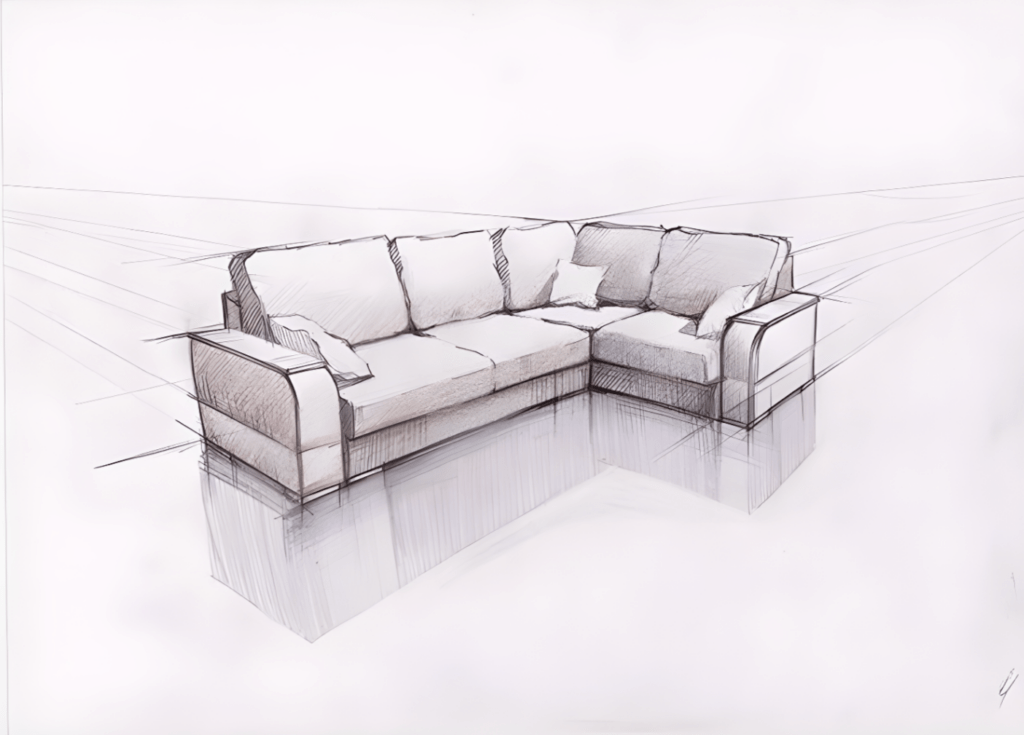
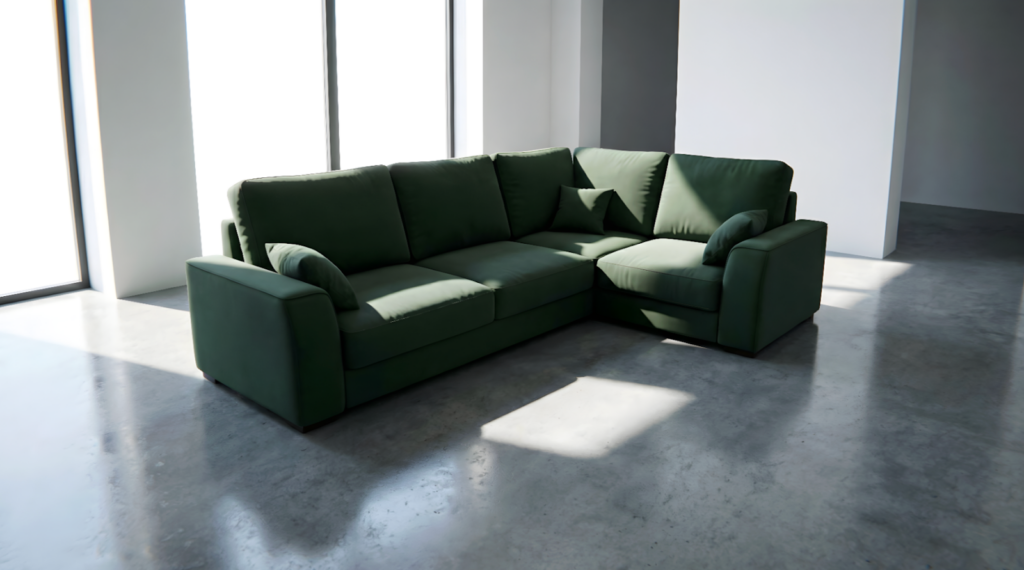
Sample 1
Engine: v4.1
Expert: Furniture
Camera: Same
Lighting: Daylight
Render Style: Realistic
Geometry: Precise
Prompt Scenario: Render
Prompt: photorealistic, color dark green, smooth texture
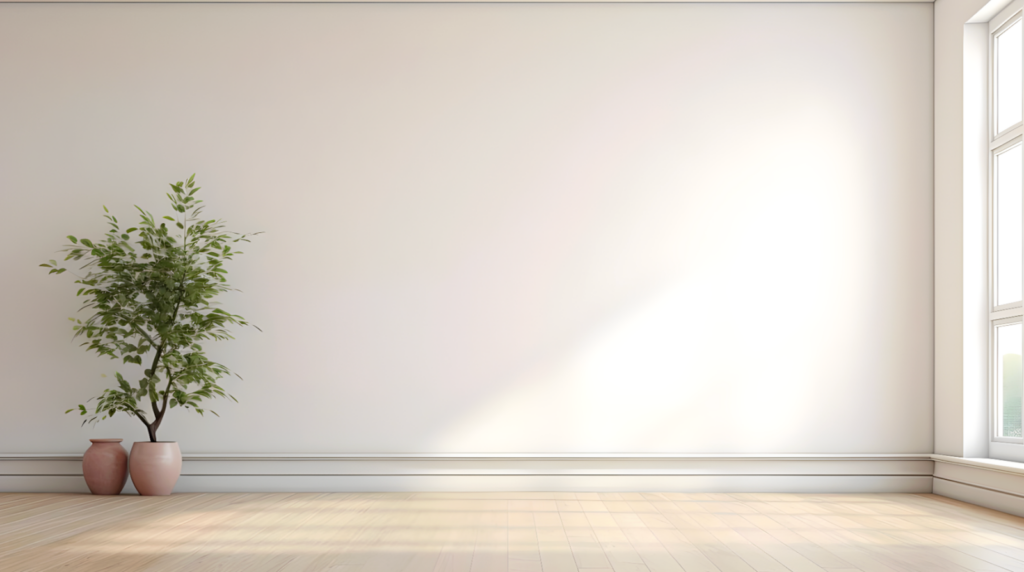
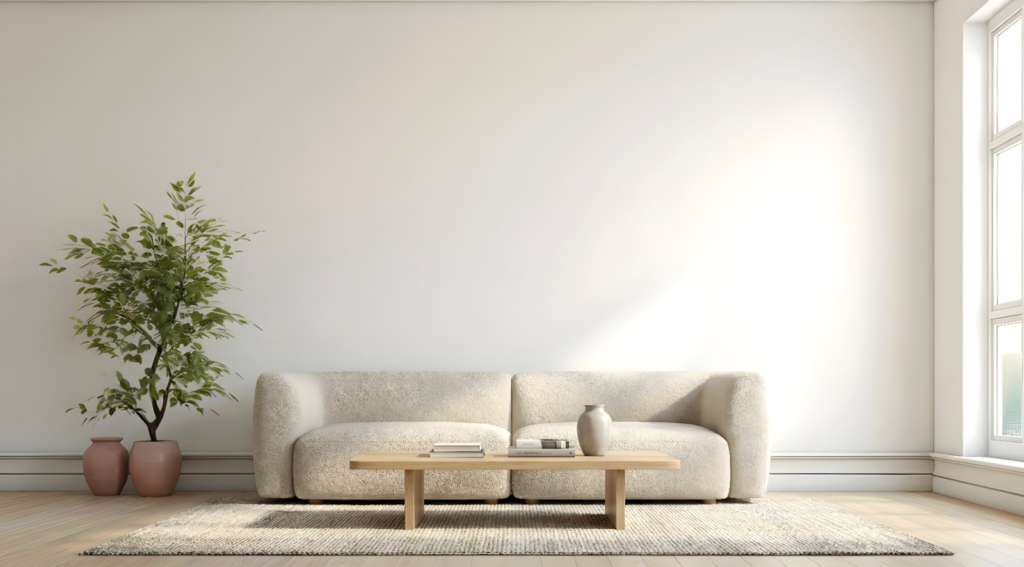
Sample 2
Engine: v4.1
Expert: Furniture
Camera: Same
Lighting: Daylight
Render Style: Realistic
Geometry: Precise
Prompt Scenario: Render
Prompt: Photorealistic, add sofa and table, minimalist style, design is comfortable
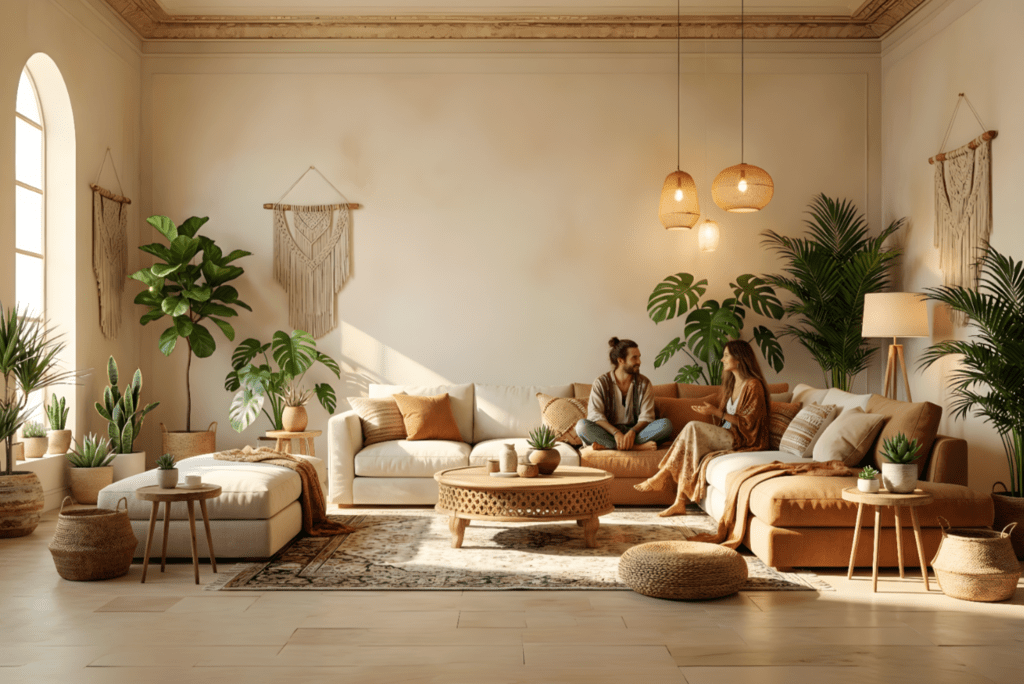
Sample 3
Engine: v4.1
Expert: Furniture
Camera: Same
Lighting: Daylight
Render Style: Realistic
Geometry: Precise
Prompt Scenario: Render
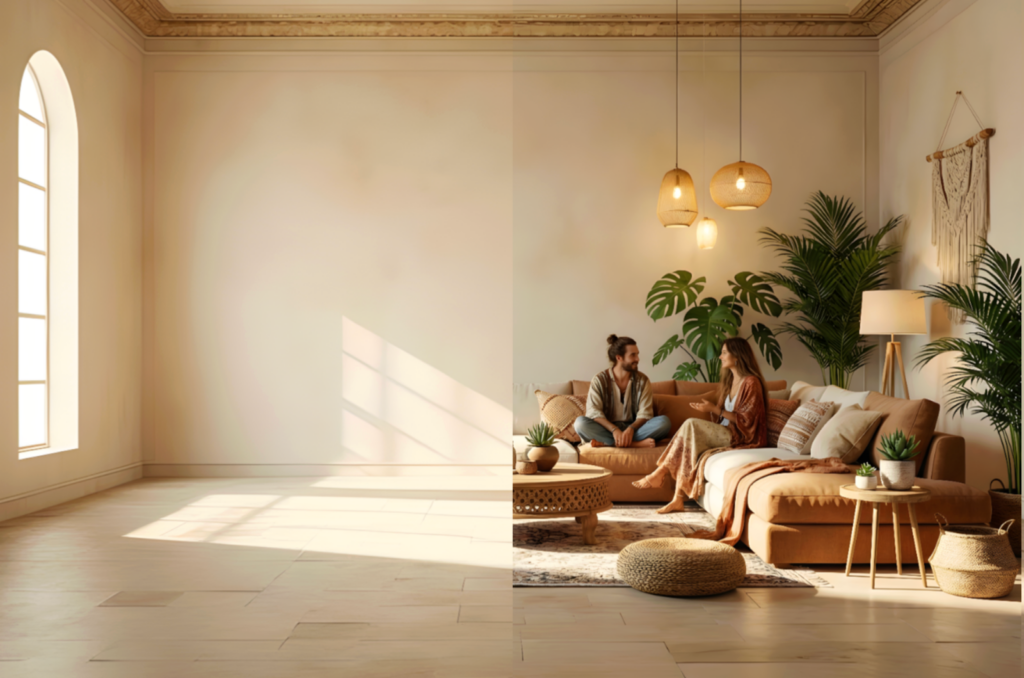
Prompt: Photorealistic, add sofa set and tables on center, add plants and lights, add people sitting, boho style, maintain 100% same geometry
Final Takeaways
ArchDiffusion v4.1 makes furniture planning simple by combining clear controls with powerful AI precision. By selecting the right project type, camera view, render style, and geometry mode, you can quickly move from concept to realistic results. Reference images and well-structured prompts dramatically improve consistency and accuracy. Start with Precise geometry and Realistic style, then experiment creatively once comfortable. With thoughtful settings, even beginners can produce polished, presentation-ready interiors in minutes for clients, teams, and fast design iterations with confidence today.