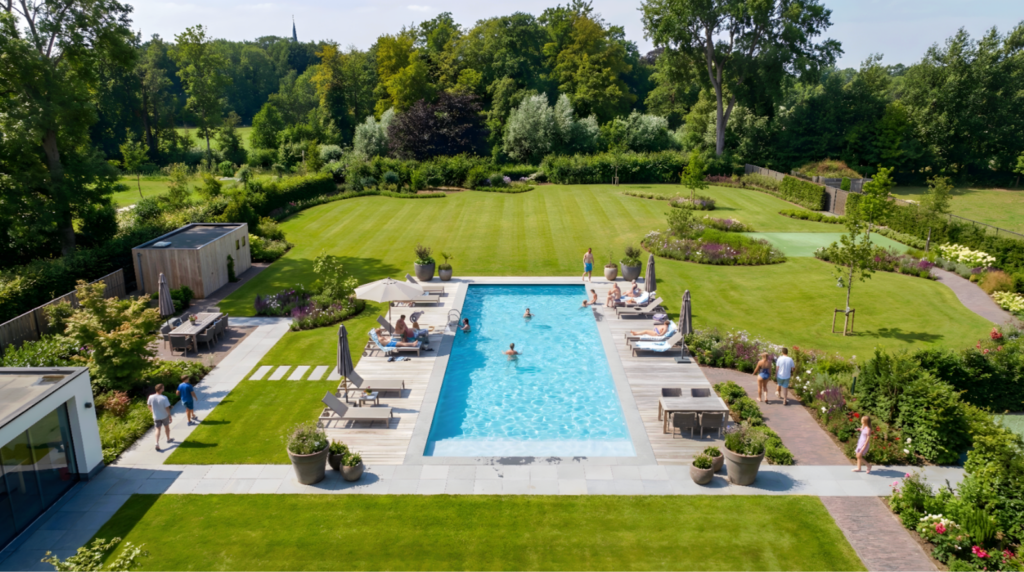
In this guide, we’ll walk you through how to use Landscape AI with the ArchDiffusion v4.1 engine. You’ll get an overview of the updated interface, explore the latest upgrades, and see sample parameters you can try. Let’s get started.
Interface Walkthrough
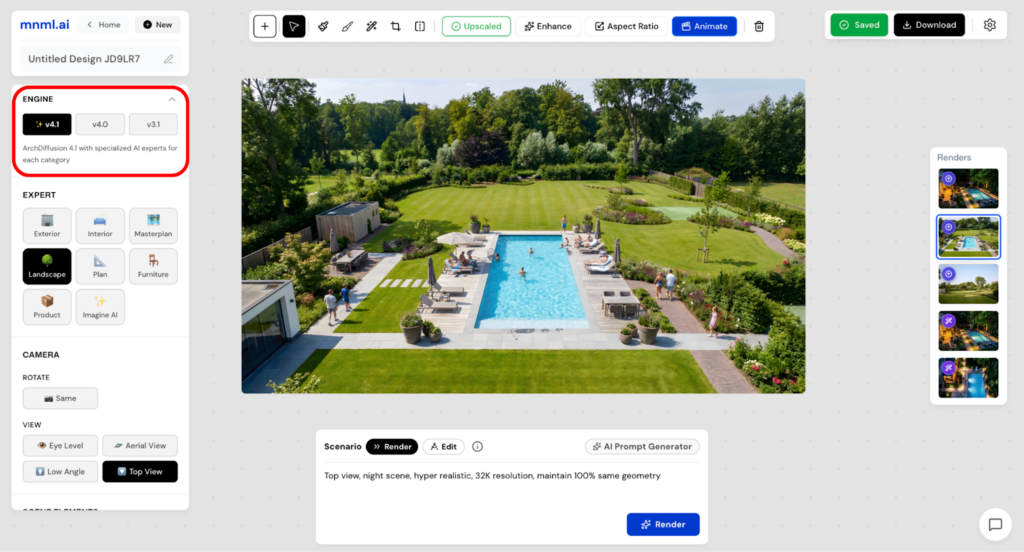
You’ll find the v4.1 engine alongside other engines in the top-left corner of the interface. This is where you choose the version you want to work with.
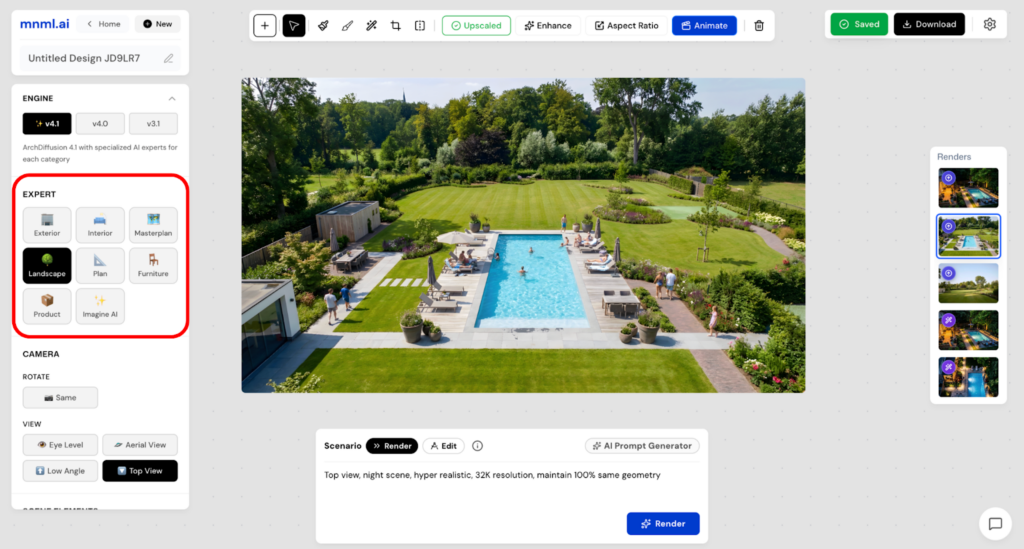
Next is the Expert section. Here, you can define your project type—such as Interior, Exterior, or Landscape. Selecting the correct project type helps the engine better understand your intent and produce more accurate, relevant results.
Below that is the Camera section, which includes two settings: Rotate and View. These options let you control the angle and perspective of your image. You can keep the original view or switch to alternatives like a low angle or top view, depending on how you want to present the landscape.
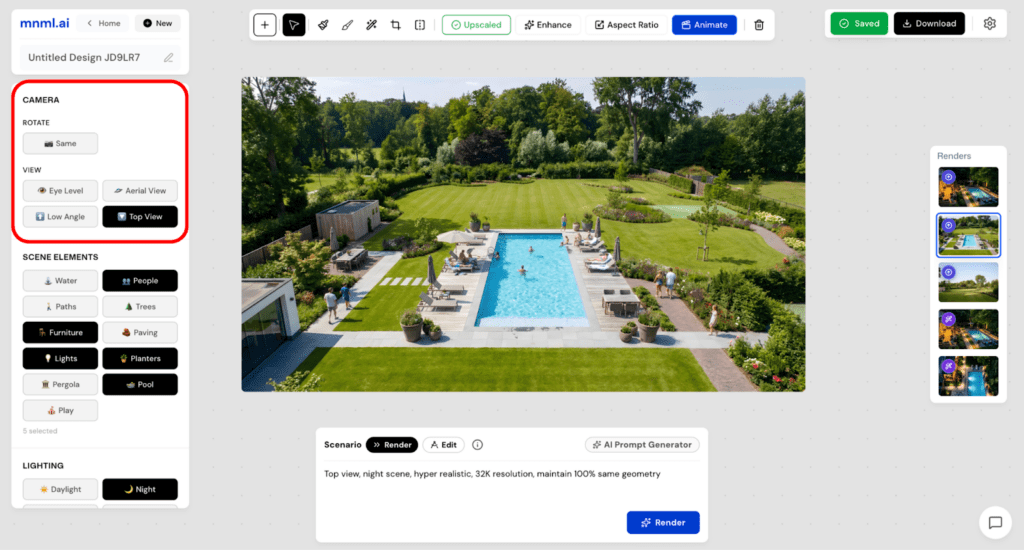
Another useful built-in feature is Scene Elements. This section allows you to add context and detail to your design, such as water, trees, people, and more. If an element isn’t available in the list, you can simply type it into the prompt box for complete creative flexibility.

Next is the Lighting section—one of the key upgrades in mnml.ai. This lets you set the overall mood of your render based on the time of day. Options like Daylight, Golden, and Cloudy make it easy to adjust the atmosphere and tone of your masterplan.
After lighting, move on to Render Style. This setting defines the overall visual appearance of your output. While Realistic is the most commonly used style, you can also explore options like CGI or Sketch to match different presentation needs.
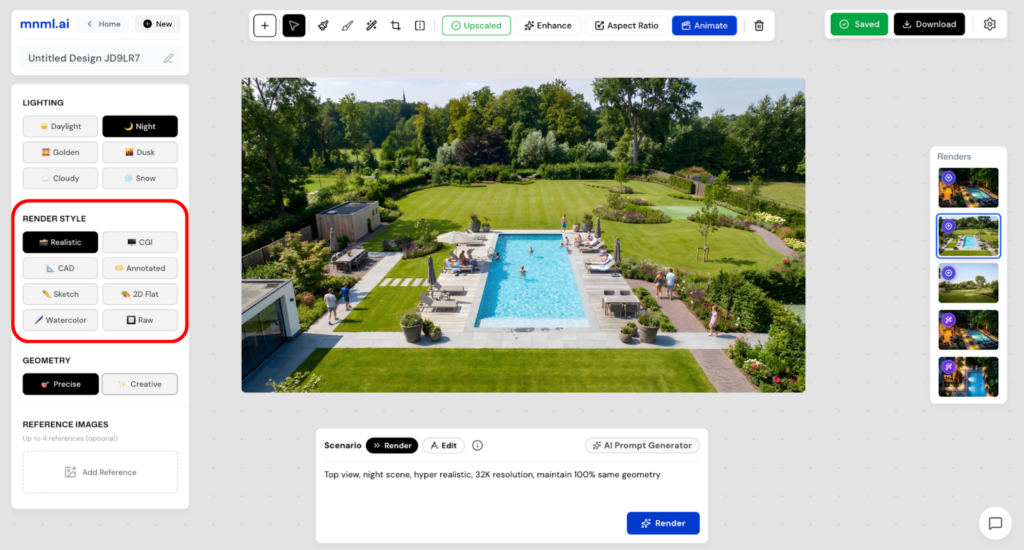
The second-to-last section is Geometry, which has a significant impact on your final result.
- Choose Precise to maintain accurate geometry.
- Select Creative for a more flexible and expressive interpretation.
At the bottom of the interface, you’ll find Reference Images. This feature helps guide the AI toward a specific look or style. You can upload up to four reference images to improve consistency and better align the output with your vision.

To complete your setup, head to the prompt box and select a Scenario. Choose Render for a more controlled and accurate result, or Edit if you want greater creative freedom.
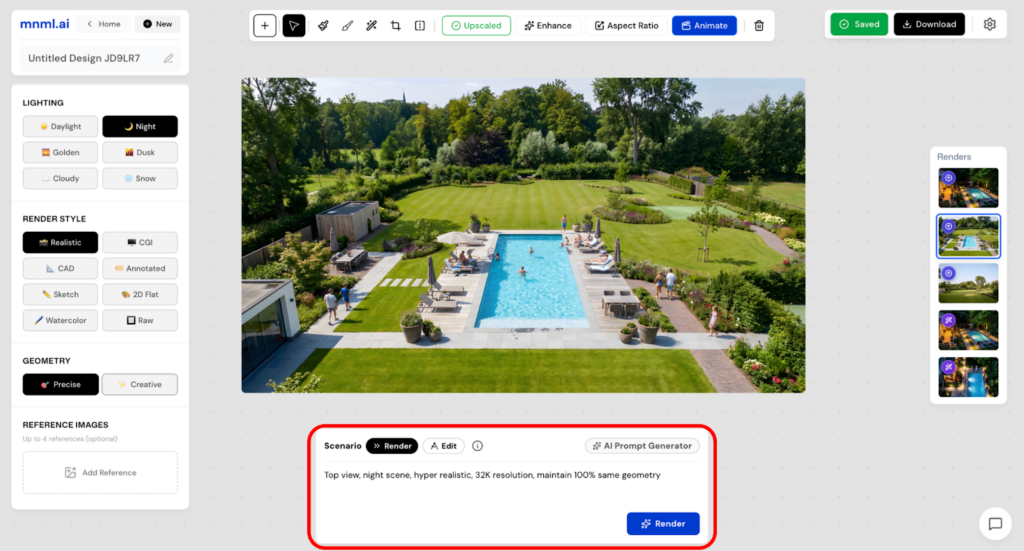
Once everything is set, simply click Render and wait a few seconds to see your masterplan come to life.
Sample Workflows
Now, let’s try sample landscape design parameters.
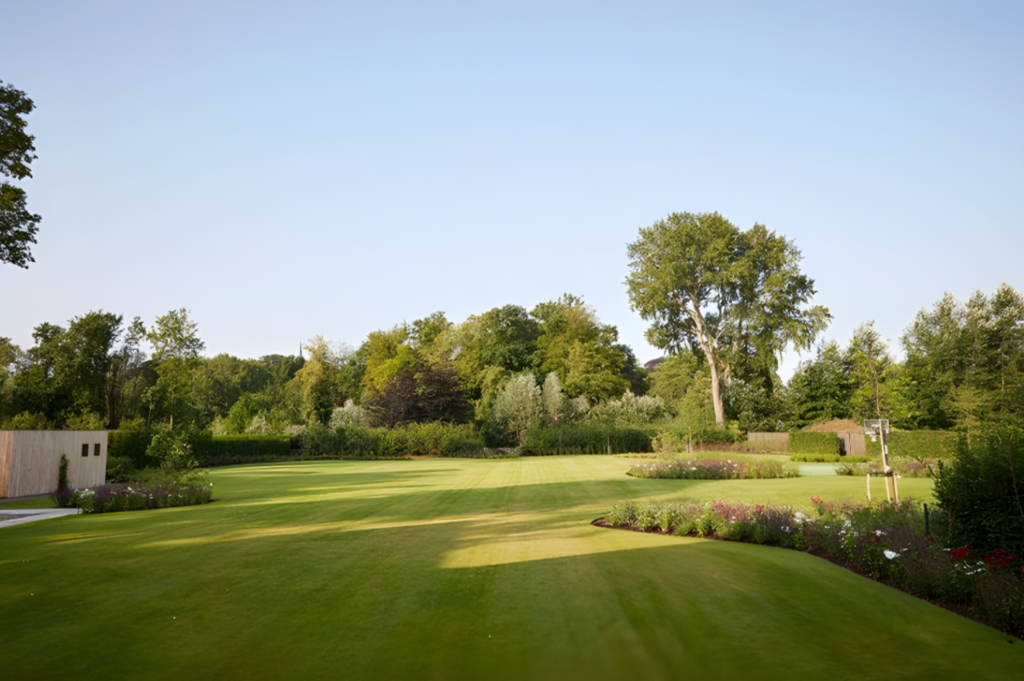
Sample 1
Engine: v4.1
Expert: Landscape
Camera: Same
Screen Elements: Water, People, Paths, Trees, Furniture, Lights
Lighting: Daylight
Render Style: Realistic
Geometry: Precise
Prompt Scenario: Render
Prompt: Hyper realistic, 32K resolution, maintain 100% same geometry
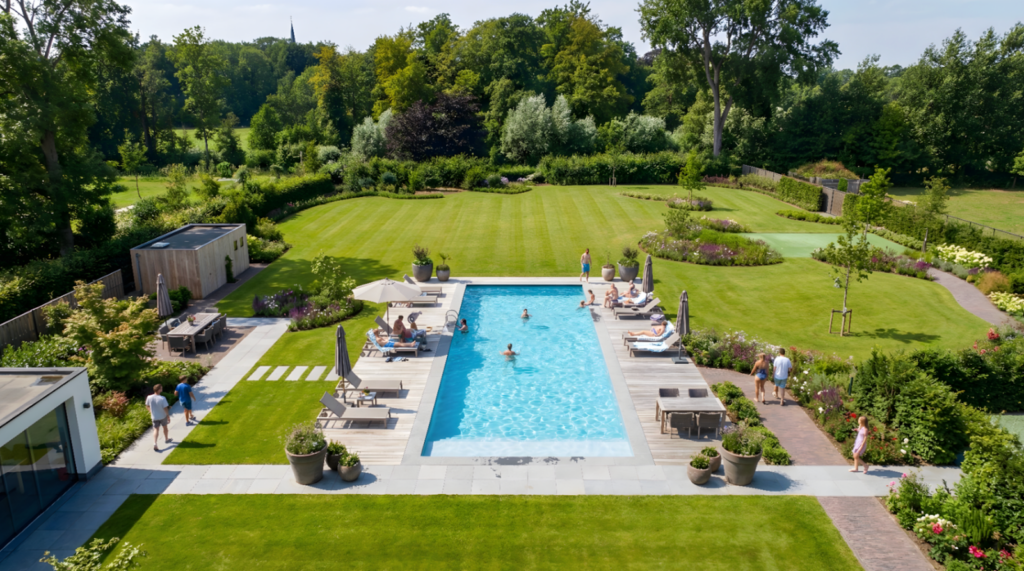
Sample 2
Engine: v4.1
Expert: Landscape
Camera: Aerial View
Screen Elements: People, Paths, Trees, Furniture, Planters, Pool
Lighting: Daylight
Render Style: Realistic
Geometry: Precise
Prompt Scenario: Render
Prompt: Aerial view, hyper realistic, 32K resolution, maintain 100% same geometry
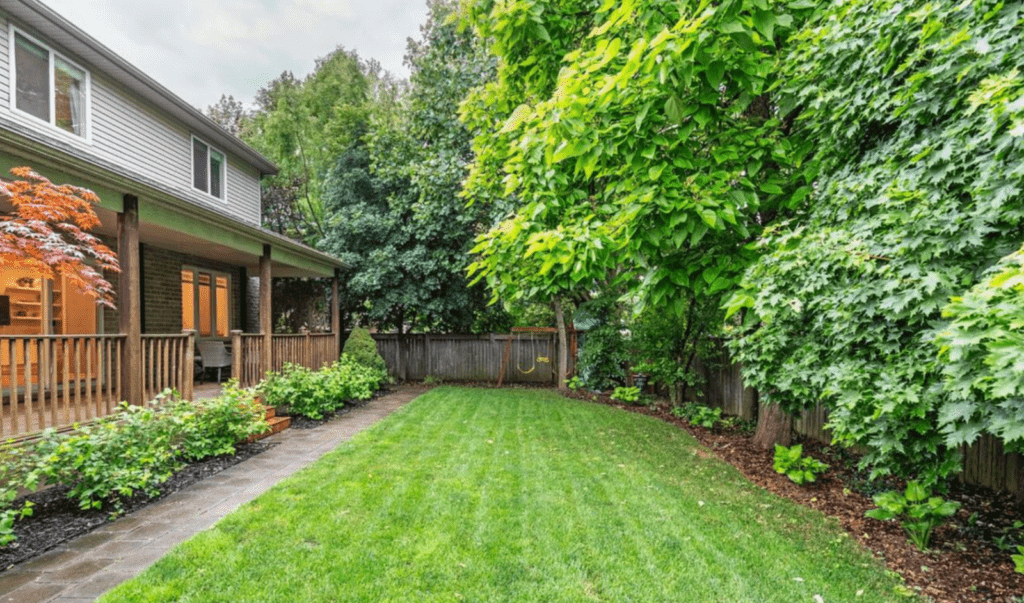
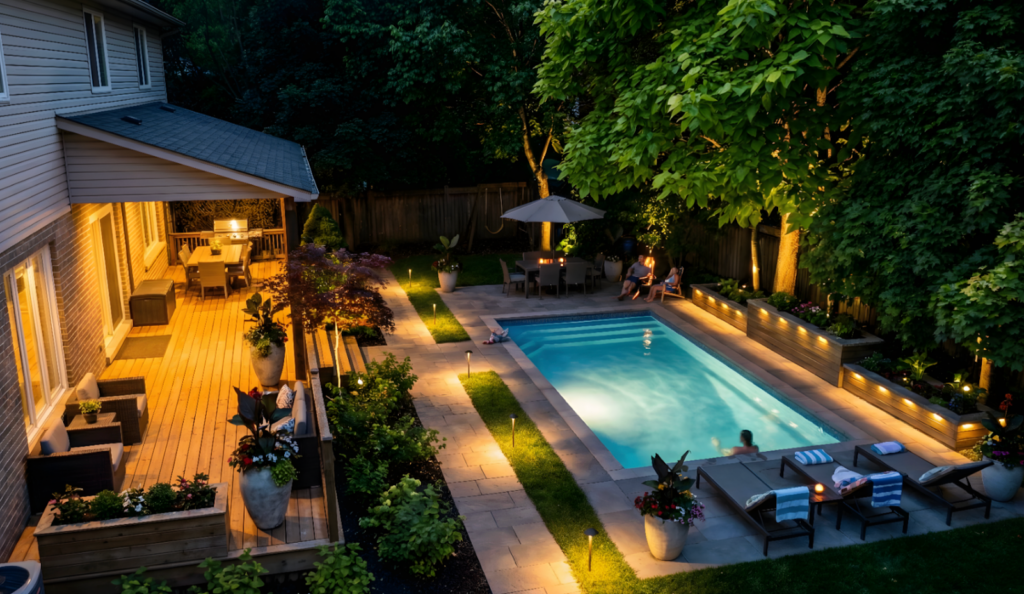
Sample 3
Engine: v4.1
Expert: Landscape
Camera: Top view
Screen Elements: People, Furniture, Lights, Planters, Pool
Lighting: Night
Render Style: Realistic
Geometry: Precise
Prompt Scenario: Render
Prompt: Top view, night scene, hyper realistic, 32K resolution, maintain 100% same geometry
Final Takeaways
ArchDiffusion v4.1 streamlines landscape visualization by combining precise controls with creative flexibility. Selecting the correct project type ensures better contextual understanding, while camera, lighting, and render style shape the mood and presentation of your design. Geometry settings help you decide between strict accuracy and expressive freedom, and reference images improve consistency. With clear scenarios like Render or Edit, even beginners can confidently produce high-quality, hyper-realistic landscape plans in just a few clicks.